Destiny 2 King’s Fall 2026 Raid Guide
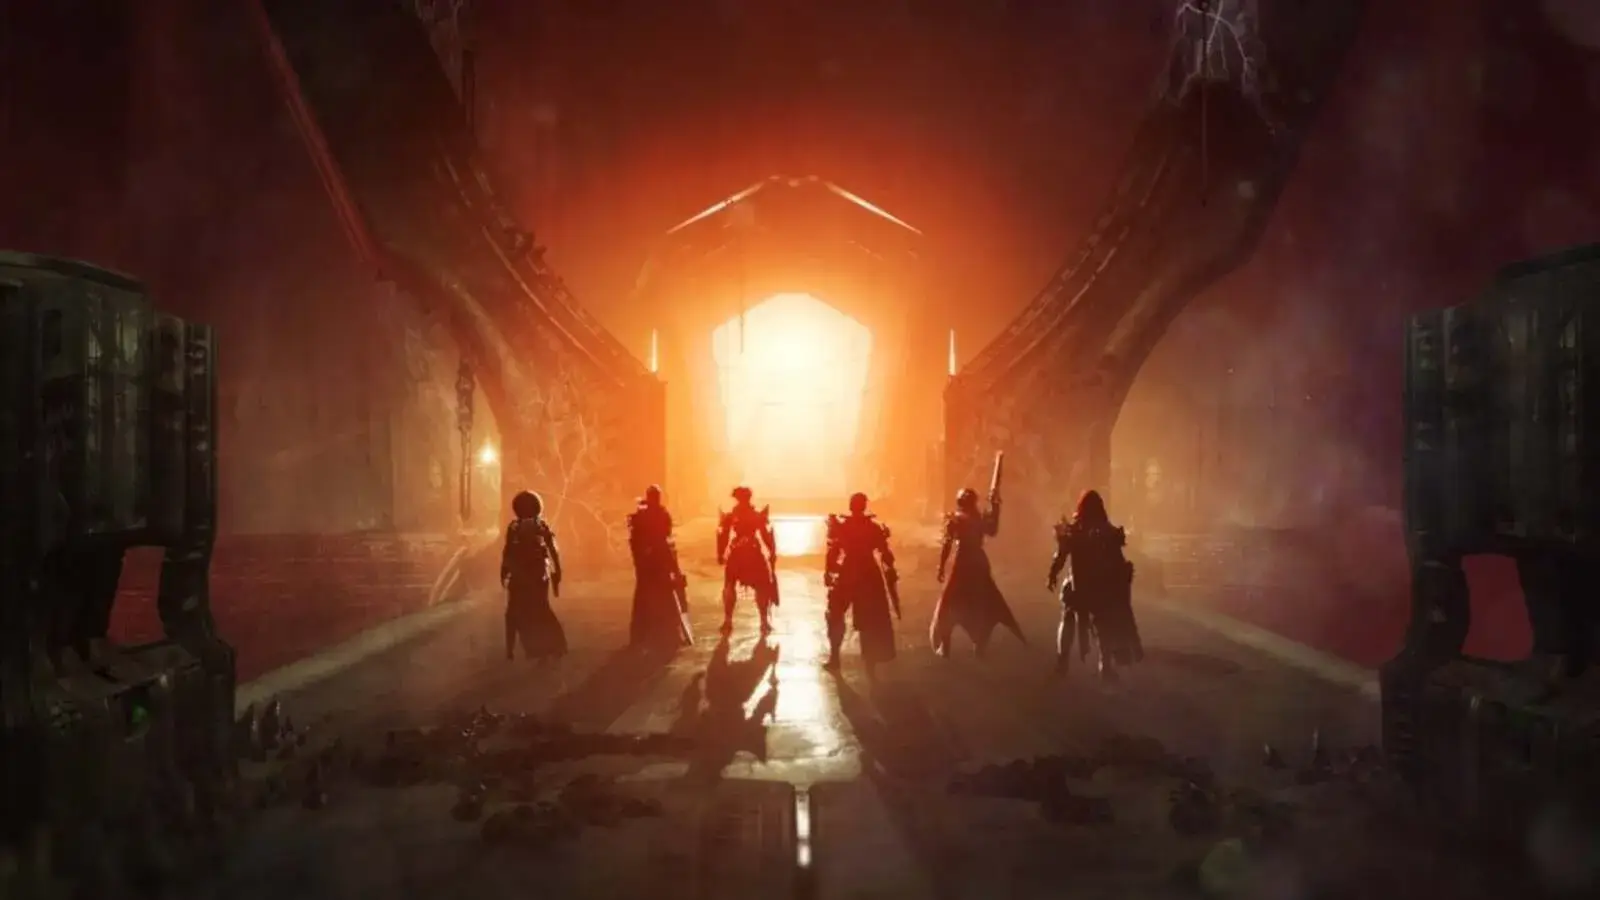
The June 9th update brings tiered loot to every raid and dungeon in Destiny 2. Each one will see their weapons get a loot refresh and an individual armor set. The armor sets come with their own set piece bonuses. King’s Fall is the second reprised raid in Destiny 2. It sees the guardians fight on the Dreadnaught and take on the Taken King, Oryx.
King’s Fall: The Court of Oryx
As with the Vault of Glass, you must complete an encounter right off the bat. There are two Relics in front of you. Have one player each pick up a Relic. Taken enemies spawn, along with a Taken blight in front of you. Have the non-Relic players break the blight. Both players must deposit both Relics in quick succession. You will need to repeat this process multiple times.
The Relics will continue to spawn on the left and right sides. Always have the players pick up the relics at the same time. The non-Relic players must break the Taken blight doors that spawn every time you pick up a relic. You can split into three groups: one on the left, one in the middle, and one on the right. After depositing six sets of relics, the portal opens. Taken the portal to the other side.
King’s Fall: First Traversal Section
Run all the way through until you reach a Hive ship. Have all players jump on the ship at a time. After a brief period, the ship will start moving. Eventually, the ship will start to disintegrate. At this time, look for the next ship and jump to it. Keep doing this until you reach the middle platform. The platform is a respawn point. More ships spawn to jump across. There is one ship that you do not need to jump on. The ship that runs right across the ship you are standing on is the bait.
Once everyone is on the other side, progress forward. There is another ship, but not everyone should jump onto it. Have one player stand on each plate, while the other four take the ship. Once all four players are on the other side, two of them must stand on the plates. Now the last two players take their ship across. Once everyone makes it, run through the door to the elevator. After taking the elevator, run forward to the next encounter.
King’s Fall: The Totems
Split into two groups of three players for the Totems encounter. Each group takes their own side. In each group, assign an order. The order translates to when each player will pick up the Brand buff in this encounter. On two podiums on either side of the main room is a Brand. Picking up one of the Brands starts the encounter. The Brand players should run directly to the plates across them.
If you are familiar with the Chamber of Suffering encounter, the plates work the same. Standing on them prevents the wipe. You need the Brand to survive inside the room, as it protects you from the poison in the rooms. Killing enemies with the Brand grants you stacks. However, there is a timer for the Brand. If it reaches zero, you die, lose the Brand, and your stacks.
The Brand will return to the podium if the Brand player dies. While the player stands on the plate, the other players work on getting the Brand Claimer buff. On the top platforms are Hive Wizards. Killing them spawns a Brand Claimer Taken Knight. Killing it, the Knight drops the Brand Claimer. Have the second player in the order pick up the Brand and run to the plate.
At around two seconds of the Brand Buff player’s time, have the Brand Claimer take the buff from them. It will give the Claimer the Brand buff. The other player runs to the center plate to deposit their Deathsinger’s, Power Stacks. Deposit all of them, or you can not pick a Brand. Have the third player take the Brand and repeat. You want to continue the process until you have deposited 200 Deathsinger’s Power.
King’s Fall: The Warpriest
After clearing the Totems, the door opens to the Warpriest encounter. Before you are three plates in front of the statues. Both are very important for starting the damage phase. We will get into that in a moment. Assign a player to each plate. Stand on each plate with those players to start the encounter. The first portion of the encounter focuses on clearing Hive enemies.
Kill two sets of two Blistered Wizards. Eventually, three Revenant Knights spawn. Kill each one to trigger the reading sequence. The previously assigned plate players now stand behind their plate. The middle player stands on the plate and looks at the back of the statues. You are looking for a glow on one of them. If there is no glow, then it is the middle statue. After calling the statue, the player in front of the called statue stands on the plate. They call the next statue, but stay on the plate. The next player stands on, followed by the third one. An example:
- The middle plate player stands on and calls the right statue
- The middle plate player steps off
- The right plate player stands on and calls middle
- The right plate player stays on the plate, and the middle player steps on
- After the middle player steps on, the left plate player steps on.
After all three players stand on, the final player will get the Brand Buff.
The Damage Phase
Once a player gets the Brand, the damage phase starts. Players must stand in the Brand to deal damage to the Warpriest. You can deal damage from either the left or right side of the boss. The other plate players must not go for damage yet. Two Blightkeepers will spawn for the Brand Claimer buff: The second Blightkeeper spawns after the first Blightkeeper dies.
Have the first Brand player count down their timer. The Brand Claimer should take the buff right at the end. Repeat for the second player, and the third player takes the Brand. After the third player’s buff runs out, run behind one of the statues. If you are too slow, the Warpriest’s attack will kill you. Standing behind a statue will break it. Do not stand behind multiple statues, or you will lose a damage phase. Repeat the process until the Warpriest dies.
King’s Fall: The Golgoroth Maze
Killing the Warpriest opens a portal. Run through until you reach a maze. When you enter the maze, turn to the right. Run through until you reach a left turn and take it. Take the next left turn. Once you reach the middle of the maze, turn right to reach the Golgoroth encounter.
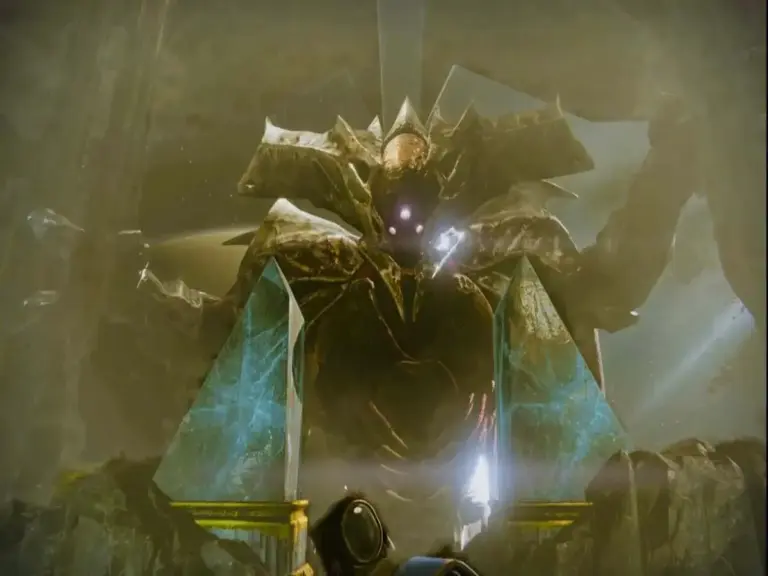
King’s Fall: Golgoroth
Shooting the Taken Orb starts the encounter. Golgoroth will climb out of the ground and show his ugly face. Much like the Warpriest encounter, you start by killing Hive enemies. Assign two players to take Golgoroth’s gaze. After a brief duration, another Taken orb spawns. At this time, Golgoroth’s back will open. One of the gaze players should shoot his back. You will get his gaze for 20 seconds. He will now follow the gaze player around the arena.
Breaking the Taken Orb spawns a pool. You must stand in the pool to deal damage to Golgoroth. The pool only lasts for a finite time. The gaze player should stand behind the team in the pool, to allow them to deal damage to Golgorth’s crit crit spot. The gaze player should count down their timer. At 2 seconds, the other gaze player shoots his back to get the gaze.
Around this time, the pool players should shoot the next Taken Orb. A player will also get the Unstable Light Debuff. At this time, that player must run up to Golgoroth. When the timer hits zero, it explodes. The explosion deals damage to the boss, but can also kill teammates if they are too close. The gaze players should always stand behind the damage team. Also, the boss will fire projectiles towards the gaze player. Ensure you kill them to stay alive. After the sixth pool, the damage phase ends. If Golgoroth is not dead, start the process against him until he dies.
King’s Fall: The Jumping Puzzle
After killing Golgoroth, run through the opening on the other side of the room. Turn to your right and run through the path to reach an open room. Welcome to the well-known jumping puzzle of King’s Fall. Watch out for the moving pistons that will knock you off the platforms. Jump across, avoiding the pistons. There are a handful of plates that you can stand on throughout the puzzle to create platforms. However, standing off the plate despawns the platforms. You want to reach the opposite high ground of the puzzle. Once everyone reaches the other side, the door opens. You will enter a room with a red glow. Jump up the platforms to reach the final arena.
King’s Fall: Daughters of Oryx
Before you meet Oryx, you must face his Daughters first. Take the fight against Ir Halak and Ir Anut to summon Oryx. Before we start the encounter, let’s establish the arena. The area by the rally banner is the front of the room, while the opposite is the back. On each side of the room are two plates. You can label the plates however you want. We label them L1, L2, R1, R2, with the ones being at the front of the room. Assign one player to each plate.
Before the encounter starts, a Hive Knight will be standing on one of the front plates. After the encounter starts, one player will become Torn Between Dimensions, and a timer starts for one of the Daughters’ songs. They will become corporeal.
The Torn player and the plate player must jump on the plate that the Knight was on. Those players must look for the Brand hovering above one of the plates. Call that plate, and the player assigned to it must jump on it. Both plate players must stay on their plate. The Torn player climbs to the Brand and interacts with it. After picking up the piece of Brand, the players can step off the plate.
A second player becomes Torn, and the process repeats two more times. If a plate player becomes Torn, one of the runners takes their place. The third Torn player will get the Brand buff. After claiming the buff, they must go up to the Daughter who is firing at you. Interact on the plate to claim the Daughter’s bubble. Deal damage to that Daughter until she dies or the timer runs out. Repeat the process for the second Daughter to clear the encounter.
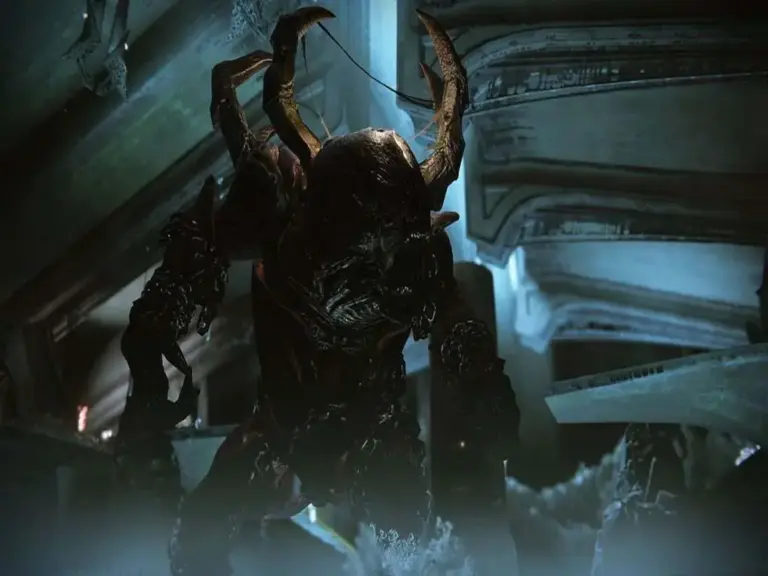
King’s Fall: Oryx the Taken King
The fight against Oryx begins in the same arena as the Daughters. He will spawn at the back of the room, along with a Taken Knight on each plate. After killing all the Knights, Oryx will move towards a plate. He will slam down on his chosen plate. That plate will become the starter for the runner. The running works the same as the Daughters encounter. However, during the running phase, two pivotal enemies spawn: Light Eater Ogres and Light Eater Knights. Killing the Ogres spawns bombs. The Knights will try to consume the bombs and kill them before they do so.
The third Brand player will claim the Brand from the Knight running around in the centre with a bubble. Eventually, Oryx will call the Darkness and slam on a plate. At this time, each plate player must stand in each bomb. Stand in your bomb until your name pops up in the bottom left. Everyone should stand in the Brand circle. The bombs will explode, killing any players not inside the circle. Every bomb increases the damage phase timer. Oryx’s chest will open, and you can deal damage. If you do not reach the Final Stand, Oryx will trigger one of two minigames.
The Thunderdome
Oryx will spawn a dome. Periodically, he will teleport a guardian into the dome. The players must kill the Shades of Oryx. After the shades die, the dome disappears, and all players return to the arena.
The Bombs
The other mini game is bombs. If Taken Knights spawn, Oryx will launch attacks at each guardian. If it catches a player, they will die. Run around the arena and dodge the attacks. The attacks end either after a short duration or when all Taken Knights die.
The Next Phase and Final Stand
After completing the mini game, the next encounter’s mechanics start again. Repeat until you reach the Final Stand. Oryx will return to the back of the room. His chest will open again, and you can deal damage. Two Light Eater Ogres spawn near the back plates. Step into the bombs when Oryx calls the Darkness. Keep firing at Oryx until he dies.
Related Destiny 2 Content
King’s Fall is one of many raids in Destiny 2. You can expect more raid and dungeon guides and Destiny news to follow in the coming days. Below are previous articles we have on Destiny 2.