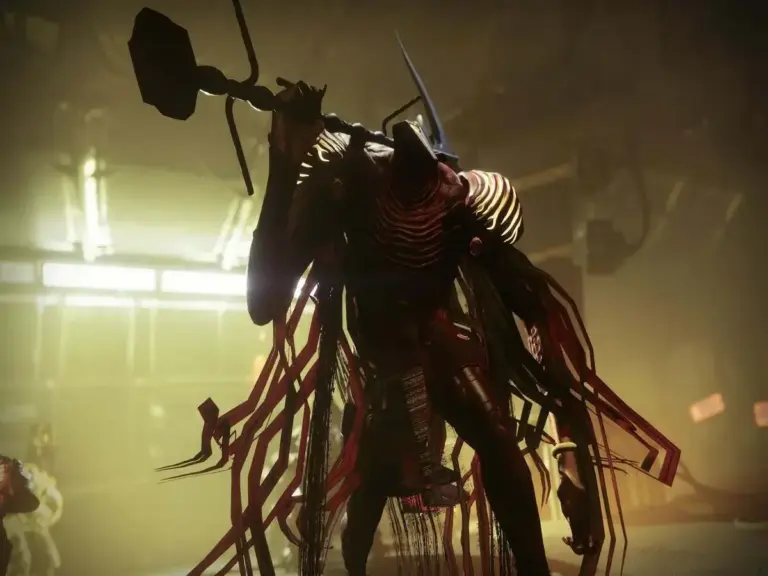
Destiny 2 Salvation’s Edge 2026 Raid Guide Encounters 1-3

The June 9th update brings tiered loot to every raid and dungeon in Destiny 2. Each one will see their weapons get a loot refresh and an individual armor set. The armor sets come with their own set piece bonuses. Salvation’s Edge saw the Guardians fight the Witness for the second time. It was the longest World’s First race. Only one team completed the raid within the first 24 hours.
Salvation’s Edge: Loading Into the Raid
You will load into the raid at the base of the Witness’s monolith. Run forward and climb up the platform. Drop into the furthest middle door. You will meet a group of enemies. Run to the right side and drop through a small gap. You will reach a large area. Follow the spawn of enemies as you run through the section. After killing the Subjugator, go to the left side and jump across to the platform. Everyone will need to reach the door before it opens.
Salvation’s Edge: Substratum
Split your team into two groups of three. One group will always run into the middle rooms, and the other group runs into the corners. Have everyone stand in the middle room. A pyramid resonance spawns. Pick it up and deposit it into the box to start the encounter. A 4:15 Final Shape Looming timer starts. If the timer reaches zero, you wipe. Clear all the Vex enemies in the rooms. Killing Vex Minotaurs spawns Hydras in the opposite rooms. Killing the Hydras opens doors for the other group. Run through the doors until one team reaches an Overload Minotaur.
Killing him opens all the doors and spawns a Tormentor in the middle. All players must return to the middle. Kill the Tormentor, and a new set of doors opens. The room where you killed the Overload originally will have a plate lit up. The other group will get their Overload Minotaur. That team must go to the middle and kill the Tormentor.
The Plate Mechanic
Both groups will have their own plates. The plates will always light up where the Overload Minotaur dies. Standing on the plate sends a pulse to a second plate. The first time you send the pulse, and it fails, the energy will return to the first plate. Every fail after that spawns a Subjugator and closes the plates. A second player must stand on the second plate as the energy reaches it. That sends the energy back to the first plate. Every time you ping the plates, resonance spawns in the plate rooms and the middle room. Have all players pick up resonance.
You can only pick up three resonances at a time. Picking up another one will kill you. After everyone has enough resonance, the second plate player shoots the totem in the middle. Standing on the plate after locking the totem. You must do this for both totems before everyone returns to the middle. Kill the Subjugator, and the box will spawn. Deposit all of your resonance to increase the timer. If you deposit enough resonance, you will get maximum time. You must do two more rotations of the mechanic before the encounter ends.
Salvation’s Edge: Second Traversal Section
After the encounter ends, stairs drop down. Run up the stairs to your chest. Jump up and progress forward until you reach an elevator. Jump across the platforms towards the second encounter.
Salvation’s Edge: Herald of Finality

Split your team into three groups of two. Each group takes a wing. Start the encounter by shooting the Taken Blight in the middle. The Final Shape Looming wipe timer returns. Clear all of the enemies on your side. After all enemies die on a side, a Trammel spawns. The type of Trammel depends on where you are:
- Left – Wizard
- Middle – Phalanx
- Right – Ogre
Killing the Trammel on a side activates the plates. Have the players stand on the plates. Send the energy back and forth three times. After the third time, intentionally miss the energy. A Trammel will respawn. At this time, the three players with Call to Reckoning must run to the middle. Shoot the top of his head to spawn Blights on each side of the arena. Break all the Blights, and his head becomes vulnerable again. Shoot his skull until you get the Stolen Favor buff.
Everyone can return to their plates. The player with Stolen Favor must look at the close totem to see a shape. It will either be a circle or a pyramid. The player who shoots the totem must have the matching resonance. You do not need to pick up all of the same resonance. As long as your last pick-up matches, you are fine. After closing all three plates, a box spawns at the back of the boss arena.
Deposit all your resonance, and the damage phase starts. Depositing 12 resonance will grant maximum time. Deal damage to the boss until the phase ends. If you do not reach Final Stand, repeat the process. For Final Stand, you will have thirty seconds to kill the boss.
Salvation’s Edge: Third Traversal Section
After killing the Herald, return to the platforms. Extra platforms will spawn to take you up the next floor. Follow the path to the elevator. Follow the path until you get to a Tormentor. Kill the Tormentor to open the path. Dodge the Pyramidal pillars as you jump around the area. In the center area, hug the right side and jump to the various platforms on the outside. Then jump across and run up the stairs.
Turn around to the outside again. You will reach a room full of Dread enemies. Kill the Subjugator to open the path. Run forward and jump to the left. Run across the platforms on the branches all the way to an elevator. Everyone must be at the door to open it. Rup up the stairs to the third encounter.
Salvation’s Edge: Repository
Split into the same groups as the second encounter. Assign each group to a plate. The Final Shape Looming wipe timer returns for this encounter. The third encounter introduces a third shape: the hexahedron. At the start of the encounter, three Tormentors spawn. The player who earns the final blow on the Tormentor gets the Stolen Favor buff. They will be able to read which shape applies to which totem. Have the players ping the energy back and forth, and then fail it. Everyone picks up resonance, with the second plate players picking up the resonance they need for the totem last.
Kill the Subjugators to open the plates. Send the energy through and close the totem. Deposit all your resonance in the box. Watch out for the Scorpius Turrets that spawn. After depositing resonance, more enemies spawn, including an Unstoppable Phalanx. Kill the Phalanx to open the door. The next room will have the plates again. However, the connected plates change. Instead of the same side plates sending energy to each other, the paths change.
- The left plate sends to the middle.
- The middle plate sends to the left.
- The right stays the same.
The second plate players shift around to follow their partner. Repeat the process from the first room for this encounter. The third room shifts the plates again.
- The left plate sends to the middle.
- The middle plate sends to the right.
- The right plate sends to the left.
After depositing the resonance in the box and killing the Unstoppable Phalanx, the encounter ends.
Salvation’s Edge: Verity and The Witness
Because of the extensive Verity explanation required, we are splitting Salvation’s Edge into two articles. The third encounter is the last time that you have to deal with the plate mechanic.
Related Destiny 2 Content
Salvation’s Edge is one of many raids in Destiny 2. You can expect more raid and dungeon guides and Destiny news to follow in the coming days. Below are previous articles we have on Destiny 2.