Destiny 2 Sundered Doctrine 2026 Dungeon Guide
The June 9th update brings tiered loot to every raid and dungeon in Destiny 2. Each one will see their weapons get a loot refresh and an individual armor set. The armor sets come with their own set piece bonuses. Sundered Doctrine saw players return to Savathun’s Throne World for the second Contest Dungeon in Destiny 2. The dungeon rewards players for knowing the lore of Destiny 2.
Sundered Doctrine: Loading Into the Dungeon
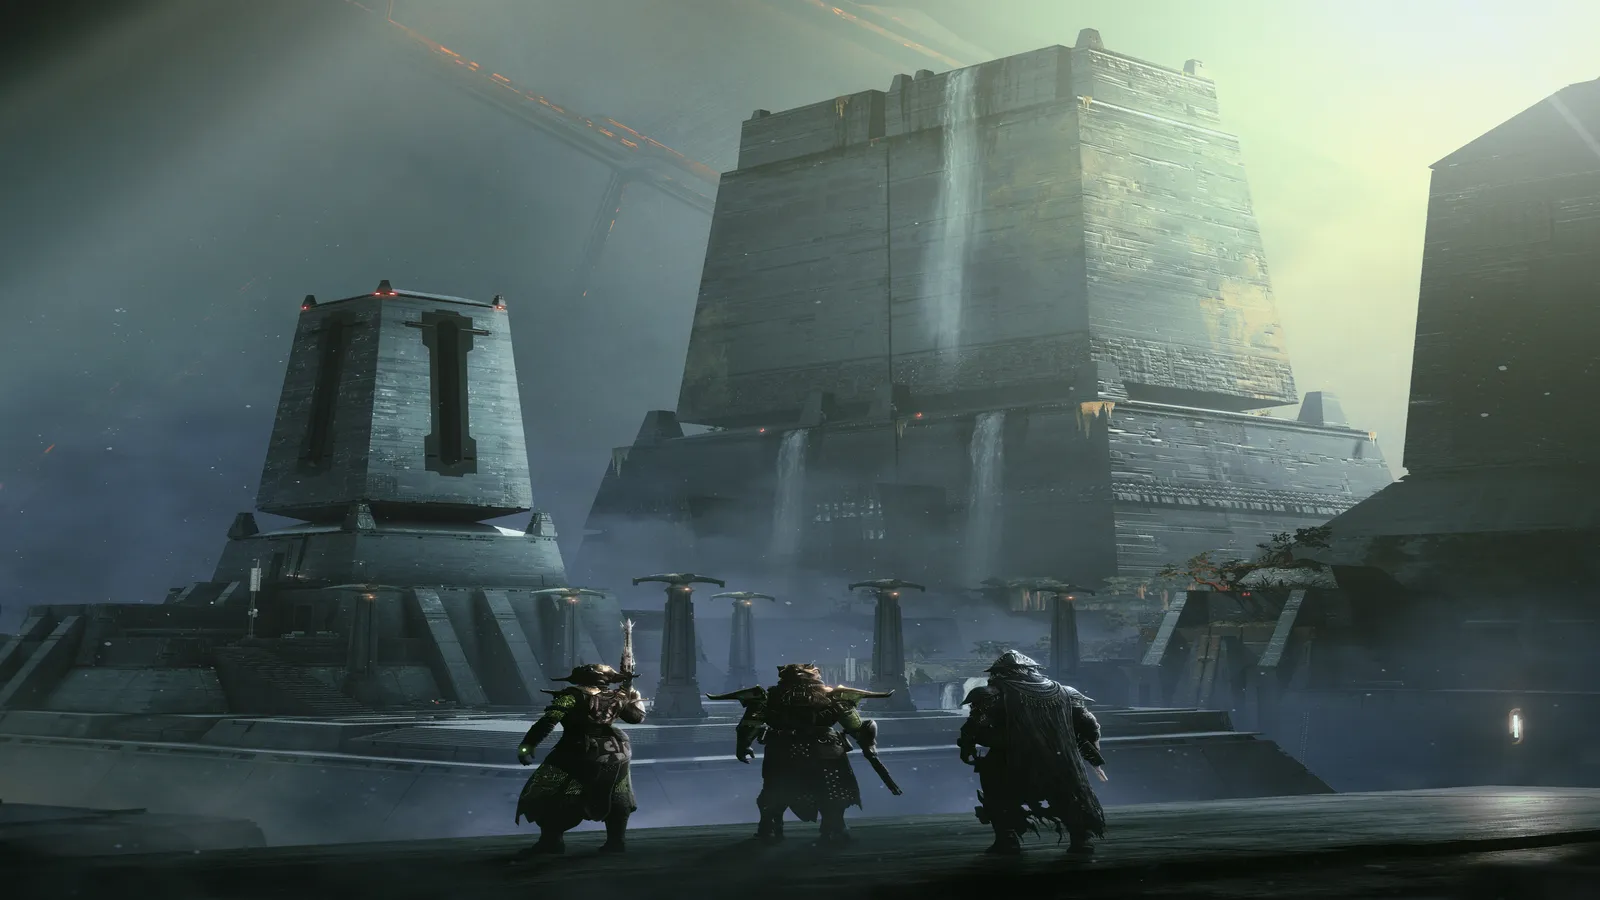
As soon as you load in, run forward, then turn left. Run past the temple and across the bridge. Jump to the left and run through towards a group of Dread. Clear the enemies and run to the far side of the room. Jump onto the platform to lower it, then drop down to the bottom. Clear another room of Dread enemies. Crouch through the waterfall and head to the first encounter. Before starting, turn around to find a room with all the symbols for the dungeon.
Sundered Doctrine: Solve the Riddle
Start the encounter by rotating the lens. After a brief duration, two symbols appear on the wall in front of you. You must read these symbols in order. One of the symbols is missing. You need to place the symbol in the missing place to create a truth. All the truths are from the lore of Destiny 2. The truths are as follows:
- Guardian Kill Witness
- Guardian Worship Traveler
- Guardian Worship Light
- Hive Worship Worm
- Hive Worship Darkness
- Traveler Give Guardian
- Traveler Give Light
- Pyramid Give Darkness
- Pyramid Kill Worm
- Pyramid Drink Worm
- Pyramid Stop Witch Queen
- Darkness Stop Witch Queen
If you are not as comfortable with the lore, there is a Truthspeaker Grim. These will always reveal the next symbol that you need.
How to Activate Symbols
In this encounter, there are four rooms. Each room will have symbols above a wheel. The symbols will always be different. The symbol you need will be on one of the walls. There are also Subjugators in each room. You can find the Truthspeaker in one of the four rooms. Killing a Subjatogator drops a lens. You can place the lens in any holster without a lens. You need to direct the light from one of the middle lenses, all the way to the wheel of the symbol that you need. You are effectively lighting up the truth. If your first two symbols are: Pyramid and Give, you must find the room with Darkness.
After completing one chain, the encounter resets. Try your best to learn the lens paths. Now you only have one symbol. You must connect the other two symbols to reveal the truth. You must complete the symbols in order. The final rotation needs you to figure out all three symbols. If you get stuck, always search for a Truthspeaker to help you. Doing the symbols in the wrong order or choosing the wrong symbols spawns a Tormentor. Kill the Tormentor, and the phase resets. After completing the third truth, the encounter ends.
Sundered Doctrine: First Traversal Section
The path opens underneath the chest. Turn left and slide through the cubbies. Drop down and turn right at the T-Junction. Run forward and then turn right as you drop down again. Take an immediate left and jump on the platform. Follow the path until you reach a large room. You want to cross to the other side. On the right is a door that you can pass through.
The second cubby will have an opening that you drop down. Run across to the other side for a hole in the wall. Here you will find large Hive balls dropping down. Use the cubbies on the side to dodge them as you run up the path and into the hole. Drop down and cross the Hive balls as they pass.
Here you will find the opening for the second encounter. There are two wheels. To find the symbols that you need for each wheel, have a look at the door towards the second encounter. The symbols correlate to where the wheels are. Above the wheel is a crux. Shooting it changes it from turning clockwise to anti-clockwise and vice versa. Kill the Ogre to spawn Preceptor Wizards.
Killing the Wizard drops resonance that you will recognise from Vow of the Disciple. The resonance allows you to turn the move that symbolizes the light shining on. Every time you deposit a resonance or kill an Ogre, a Wizard spawns. Having multiple stacks of resonance will shift the wheel based on the stacks held.
- Heightened Knowledge – 1 shift
- Brimming Knowledge – 2 shifts
- Overflowing Knowledge – 3 shifts
Have both lenses shine on the symbols to open the door to the second encounter.
Sundered Doctrine: Zoetic Lockset

Drop down to the area below to start the encounter. There are four Shrieker-type bosses, who share a health pool. There are also four wheels with a set of symbols. There are four different symbols, all of which serve a function:
- Knowledge – Spawns a wave of Wizards and Knights
- Hive – Spawns Two Boss Ogres
- Commune – The Shrieker boss fires bees at you during damage
- Stop – Stops the enemies’ spawn for that phase
- Kill – Triggers the damage phase
The wheels function the same as when opening the door. However, there are a couple of additions. Each Shrieker reads a specific wheel. They read from left to right. Each notch on Zoetic Progression shows when a new Shrieker reads. Whichever symbol the Shrieker reads happens. Ideally, you want to avoid Hive and Commune. Stop is the best generic one to have, unless you want enemies to farm ammo. Knowledge helps to generate more resonance stacks.
You only want to trigger Kill when you are ready for damage. One other aspect with Kill is the Shrieker that reads kill changes the damage phase length. The leftmost wheel grants the longest damage phase, and the right, the shortest. The Shriekers will read during damage as well. Ideally, you want your wheels to read as follows for the damage phase, from left to right.
- Kill
- Stop
- Stop
- Stop
Another aspect is that a wheel will shift in the direction it is facing if you do not interact with it during a reading phase. It will always skip over Kill. Always pay attention to what the wheels are on. You can deal damage to any Shrieker. Repeat until the boss dies.
Sundered Doctrine: Second Traversal Section
After Lockset dies, the Shriekers will turn into balls. You need to knock one of the balls into the hole at the exit of the encounter, by the chest. Once done, the door opens. Run through the door and drop to the right. Turn right at the first path. You can go either left or right here. Clear the Hive and Dread enemies to progress. Ascend and jump across the platform past the Ahamkara bones.
You will enter a room with lenses. Guide the end of the lens to shine the light towards the upper wheel of the door. Guide the light from the worm to the wheel under the entrance. Run through the now open door and look to your right. There is a door that you can shoot. Shooting it opens it up, but it will not stay. Run through quickly. Ascend to the group of Dread. Move past them towards the final encounter.
Sundered Doctrine: Kerrev, the Erased
There is a large wheel in the middle of the room. It will always have one truth and one lie. The goal for this encounter is to highlight the lie and darken the truth. There are four rooms for this encounter, each with various symbols.
- The Main Room
- Drink
- Praise
- Kill
- The room underneath the Main Room
- Stop
- Give
- Left Room behind the shootable door
- Pyramid
- Witness
- Hive
- Traveler
- Guardian
- Right room behind the platform
- Darkness
- Light
- Witch Queen
- Worm
In each area, there is an enemy that prevents Weavers from spawning. In the main room and underneath the main room, there is a Blistered Knight. The left room has a Strand Subjugator, and the right a Stasis Subjugator. Killing Weavers grants you an Unwritten Empowerment buff. The buff allows you to break the Strand cruxes attached to the lenses or normal cruxes.
Breaking the Strand cruxes spawns enemy Threadlings. You can now rotate the lenses or shoot the cruxes to reveal or make a platform disappear. Your goal is to have a lens shining on the symbols of the lie. If you do not know which one is the lie, find a Truthspeaker, and it will reveal the truth (the one you must darken).
An
On the wheel in the main room is:
- Pyramid Drink Worm
- Witness Kill Guardian
The wheel has Drink and Guardian lit up. That means you must light up Witness and Kill, while darkening Drink. While running around in the main room, watch for Kerrev. If you get too close to him, he will suspend you. Once you have lit up all three symbols from the lie, interact with the wheel to start damage. Hide behind a pillar. Fire engulfes the arena, destroying Kerrev’s shield over time.
If you are not behind a pillar, you will take damage. Once his shield disappears, the fire disappears, and you can deal damage to Kerrev. He will run around the arena, but mostly runs to the player. Once his health drops low, he often runs away from the players. Repeat until you kill Kerrev and complete the dungeon.
Related Destiny 2 Content
Sundered Doctrine is one of many dungeons in Destiny 2. You can expect more raid and dungeon guides and Destiny news to follow in the coming days. Below are previous articles we have on Destiny 2.