Destiny 2 Warlord’s Ruin 2026 Dungeon Guide
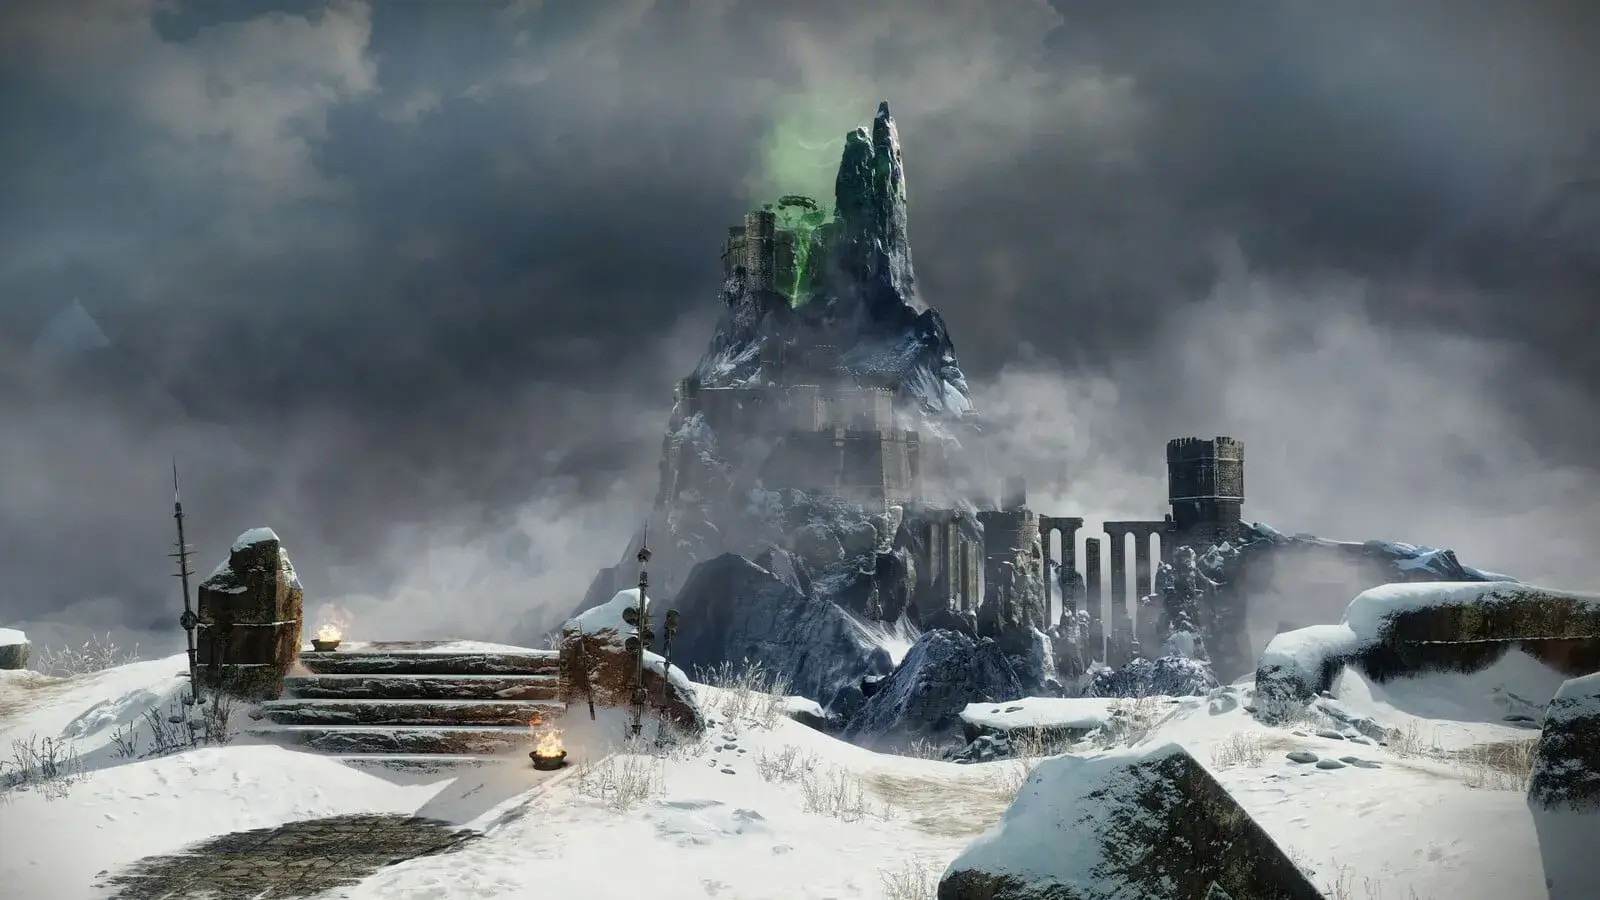
The June 9th update brings tiered loot to every raid and dungeon in Destiny 2. Each one will see their weapons get a loot refresh and an individual armor set. The armor sets come with their own set piece bonuses. Warlord’s Ruin takes place in the snowy mountains of the EDZ in a medieval castle. The Guardians must climb the mountains to find out why the Taken has a presence on Earth.
Warlord’s Ruin: Loading Into the Dungeon
You will find yourself on the cliffs of the mountain. Run alongside the cliff. You want to jump up the platforms onto the cliff to your right. Run alongside the upper cliff and jump across. You will reach a bridge with Scorn spawning. Kill the Scorn and run through into the castle. Turn left, then right, to follow the path towards the first encounter.
Warlord’s Ruin: Rathil, First Broken Knight of Fikrul
The first encounter is simple, but it is one of three boss encounters in the dungeon. At the start, a handful of Scorn enemies spawn. After a short delay, Rathil will spawn a totem and then teleport players into individual cages. A 30-second Imminent Wish Timer starts. To break out of the cages, you must kill the three Taken eyes surrounding them.
After the cage opens, drop down and stand inside the totems’ ring. While standing inside the ring, the Taken Blight disappears. Once it disappears, you have capped the totem. The mechanic is present for the entire dungeon. There are two totems for Rathil per damage phase. Capturing both totems within the Imminent Wish timer grants you the maximum time for the damage phase. Repeat the process until Rathil dies.
Warlord’s Ruin: Escape the Prison
After killing Rathil, you will teleport into a prison. Each player will be in their own cell. Two players will be able to see a skeleton pointing to a rock that has strikes on it. These strikes indicate how you must turn the dials to unlock the cells. If the skeleton is pointing with their right arm, those strikes indicate the number of dials that you need to turn clockwise.
The other skeleton shows the dials that must be anti-clockwise. You only need to read one skeleton to know. There are six dials in total. Shooting the dial once turns it anti-clockwise. Shooting the dial three times turns it clockwise. Once all dials are moving in the correct direction, the player without a skeleton must shoot the lock across from them. If done correctly, the cell doors open.
Collect your loot and turn around to follow the path through. After you drop down through two holes and cross a gap, jump up through a hole. Take care in this section. There are traps littered throughout that will kill you. The first trap is right ahead; jump over it. Turn to your left and slide past the next trap. Head forward and turn right into the hole in the wall.
After entering the next part of the maze, head down the path in front of you. Hug the left side of the wall to dodge the trap. Take the first left and jump over the traps. Turn right and then immediately left. Once you reach the T-junction, turn left. Run down the path until another T-junction. This time you turn right and jump over the hole into an immediate left.
Jump up the hole and through the door. Drop down the first hole until you reach the snowy area. Jump up the platforms and follow the path outside. You want to jump around the cliffs to reach the bridge. However, watch out as some sections of the cliffs will collapse when you stand on them. Cross the bridge, killing the Scorn enemies. At the large door, turn left and jump around until you reach a sewer. Head into the sewer and turn left. Run up the stairs to reach the second encounter.
Warlord’s Ruin: Locus of Wailing Grief
Shoot the Taken Blight in the center of the arena to start the encounter. The Locus arrives along with Taken and Scorn enemies. Near the Locus are Taken eyes. Kill all of them to continue the encounter. At this point, two boss Scorn Knights spawn: Malaris and Vrysiks. Assign one player to each Knight. The third player can help either side or focus on killing other enemies. Wait until the Knights spawn a totem. Once they do this, kill the Knight. There will now be two totems that you can capture. However, be wary of this part.
After the first totem spawns, the area becomes cold. You will gain stacks of Biting Cold. At 9 stacks, you become slowed, and at 10 stacks, you become frozen and die. There are torches on the outskirts of the area. Standing near them grants your Shelter from the Storm and removes the Biting Cold stacks. The Imminent Wish timer returns, and you must capture the totems within this time. Once the timer ends, the wind disappears, and solar orbs will spawn near the rally flag. The number of orbs that spawn depends on how many totems you captured. If you captured four, you can start the damage phase.
If you have fewer than four orbs, you must do the totems phase again. However, before doing that, deposit the orbs at the plates surrounding the boss. Deposit one orb per plate. Once depositing the fourth orb, the damage phase starts.
The Damage Phase
Have everyone group up at one of the plates. Standing in the ring shelters you from the Storm and allows you to deal damage to the Locus. The fire will burn out after a specific duration, or when the Locus gets too close. Rotate as a group to the next plate and repeat for the other two. Once all four fires are out, the damage phase ends. Repeat the process until the Locus falls.
Warlord’s Ruin: Second Traversal Section
After defeating the Locus, a chest spawns, and the door opens. Run through until you reach another door and turn left. Follow the path, past a room of chests. Jump up the platforms to the opening. Kill the Taken enemies and run onto the cliffs. Be wary of sections crumbling under you. Instead of crossing the large gap, turn to the left and run inside. Clear the Taken enemies while you slowly progress through this next section. Watch out for flying rocks and crumbling platforms. There are also Taken Geysers throughout.
Navigate to the handful of Stalkers and leave the room. Turn to your right and run through until you have to jump up to the next platform. Clear the Taken enemies and work your way to the opposite side. Run through the opening and hug the outer edge of the mountains. Clear all the Scorn and Taken enemies to open the path. Run up the stairs to the final encounter.
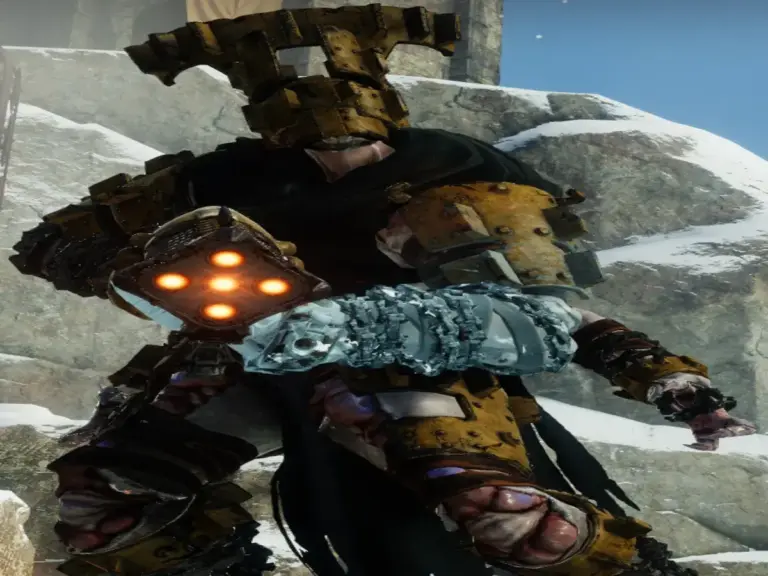
Warlord’s Ruin: Hefnd’s Vengeance, Blighted Chimaera

Break the Taken Blight to start the encounter. Before shooting the eyes around Hefnd, kill the Taken Wizards. Periodically, Taken Blights spawn on your platform. Break them to get rid of the goop. Breaking all six eyes spawns two more Boss Knights: Nymeks and Sirloks. Have them spawn their totems and then kill them, just like before. Instead of the Storm picking up, Scorn Wraiths spawn, called Vengeful Hex Drinkers. There will be one Wraith per player in the instance. At this time, you get the Hex Vengeful Corruption debuff. Each player needs to Melee a separate Wraith. However, keep in mind that the Wraiths can melee you to transfer the debuff back.
Once the debuff timer runs out, whoever possesses the debuff dies, including the wraiths. Capture the totems before the Imminent Wish timer runs out. Capturing more totems increases your damage phase timer. Deal damage to the boss. If you pass the threshold, he will teleport to the next floor. If not, he will stay where he is. Every floor has the same mechanic. After dealing with breaking past his threshold on the third floor, you will reach the final floor.
The damage phase is different here. Every time you jump on a platform, Hefnd will start a section of the damage phase. It will spawn eyes surrounding it. If it spawns enough eyes, it will cut that phase short and spawn Taken goop below you. Breaking eyes will extend the damage phase. Jump to the next plate and repeat until you have used all three plates. If you do not reach the Final Stand threshold, you will teleport back to the first floor.
After reaching Final Stand, Hefnd will teleport you and itself to the top tower. Deal damage to Hefnd until it falls, and then you have completed the dungeon.
Related Destiny 2 Content
Warlord’s Ruin is one of many dungeons in Destiny 2. You can expect more raid and dungeon guides and Destiny news to follow in the coming days. Below are previous articles we have on Destiny 2.