Destiny 2 Vesper’s Host 2026 Dungeon Guide
The June 9th update brings tiered loot to every raid and dungeon in Destiny 2. Each one will see their weapons get a loot refresh and an individual armor set. The armor sets come with their own set piece bonuses. Vesper’s Host was the first dungeon to have a Contest Mode in Destiny 2. It pushed players to new limits, and the Corrupted Puppeteer became a nightmare for players.
Vesper’s Host: Loading Into the Dungeon
Players will load into the dungeon on a platform outside of Vesper’s Station. Jump along the platforms to reach the entrance. However, before you can go inside, you will need to open the door. Here is where the game introduces you to the mechanic. If you have run Deep Stone Crypt, you will recognise the mechanics. For the opening, there are two buffs. These buffs drop Resident Vandals.
- Viral Scanner
- Viral Operator
The Viral Scanner allows you to read, similar to the Deep Stone Crypt. However, for the opening, you can only read by running up to the panels. When approaching the panels, it will do one of two things:
- It will make a ding sound, and the panel lights up on the map
- Or it will make a drowned sound, and the panel disappears on the map
Call the panel that disappeared. Now the Viral Operator player must shoot every panel except for the one that disappeared for the scanner. Shooting the wrong panel will kill the Operator. Both buffs have a 60-second timer. If the timer runs out, the player dies. You can deposit the buffs at the terminals to reset the timer or trade with another player. After the Viral Operator player shoots four panels, the door opens. Head inside and turn to the right. Drop down towards a series of mines. Break them before proceeding and follow the path. Follow the mines until you reach a drop. Always destroy the mines before dropping down to the bottom to reach the first encounter.
Vesper’s Host: Activation
Start the encounter by interacting with the system in front of you. A bunch of Fallen enemies spawns along with a Brig. Killing the Brig is vital to progress the encounter. After a short duration, more Fallen spawn, including a Fallen Vandal with the Viral Scanner. After picking up the buff, three doors open.
- Far Left
- Close Left
- Close Right
You can choose which door to go to first. We usually go through the far left, because it has the most difficult path. Clear all the Fallen Enemies, including the boss Maruaders called Machine Priest Assistants. Killing all of them drops the Fallen Barrier. Have the Viral Scanner player deposit their buff to reset the timer, and then pick it up again. In each room, there are six terminals. Two of the terminals will power down. Have the Viral Scanner find the terminals you must shoot. The Operator buff Vandal spawns on the main platform. After finding all four terminals, the Operator player shoots them, and a nuclear core spawns.
Deposit your buffs, and the other player picks up the core. You must run back to the main room. Pay attention to your radiation. If you reach 10 stacks, you die. You can drop the core, or teammates can grab it off you. Once returning to the main room, there is a Brig. Killing the Brig unlocks the deposit points for the core. Deposit the core and head to the second room. Repeat the process for the next two rooms. When you return to the main room after completing the third room, there is a boss Brig instead. Take it down and deposit the final core to end the encounter.
Vesper’s Host: Surviving Raneiks
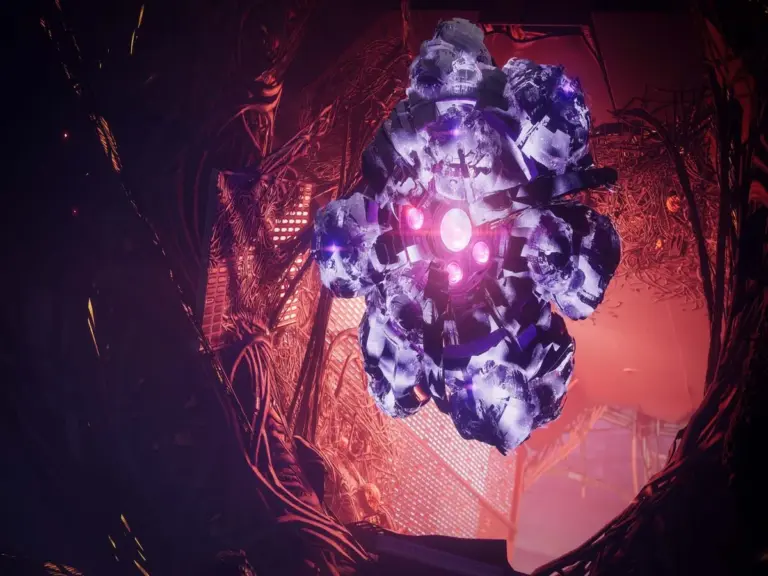
After the encounter ends, the far right barrier drops. Run through the door and past the Fallen enemies. After powering down a Fallen door, you will meet Raneiks. It is an augmented Servitor that has four attacks.
- The usual Servitor ranged attack
- The usual Servitor melee
- Fires bombs that explode after a short delay
- A beam that attaches to you based on the line of sight
- If the timer hits zero, you die
Your goal in this section is to avoid Raneiks while depositing nuclear cores in order. The Resillient Captains drop the cores on death. The first deposit is in the room opposite the main room. The second is to the left of the main room. The third is outside the second core deposit near the closed door. Depositing the core opens the door.
There is a second mechanic in this area. You have limited power. Opening a door and leaving it open uses a fourth of your power. We recommend closing every door that you do not need to use. The next core deposit is opposite the Fallen Barrier. The final deposit is a bit of a run. Head out of the room near where the Captain spawns. Turn left to the next door and then right inside. Raneiks will be in your path. Avoid him and reach the final core deposit. Depositing the core opens the final door. Run past Raneiks and through the opening in the floor. Follow the path towards the second encounter.
Vesper’s Host: Raneiks Unified
Raneiks introduces the third augment: The Viral Suppressor. Of the three buffs, it has the most differences from its Deep Stone Crypt counterpart. Instead of standing in rings and shooting the boss to stun, the Suppressor changes your grenade. It creates a clone on the spot. Breaking the clone stuns Raneiks. Before we get to when you do that, first, you must clear the main room of Fallen enemies. After killing the Shank with the Operator buff, deposit it into the terminal. After clearing enough enemies, the Machine Priest spawns.
Kill her, and the boss teleports you to the next platform. Be wary of the Exploding Shanks running you down. After killing all the Shanks, the final Shank with the Suppressor buff spawns. Have one player pick up the buff and use their grenade key near the boss. Break the clone, and Raneiks will split up into multiple servitors. Find the two Servitors that have blotches on them. Each Servitor has a number tied to it. After finding both, run back into the main room. Repeat the previous process until you have two more numbers.
Have one player pick up the Operator buff and shoot the panels based on the four numbers. After shooting the fourth one, all enemies despawn. The Suppresor Shank returns, and Raneiks joins you in the room. Deposit the Operator buff, while another player picks up the Suppressor. Use the grenade near Raneiks and break it to split him up into Servitors. Now is your time to deal damage to Raneiks. You have a brief window, so be quick with your damage. Repeat until Raneiks dies.
Vesper’s Host: Second Traversal Section
After Raneiks dies, head up to the top platform and jump across to the right. Drop down the hole into space. Jump across the platforms and past the Fallen enemies. Welcome to the lightning surges that will follow you into the final encounter. If a platform starts glowing yellow, wait. The initial impact of the strike will instantly kill you. You can run across the lightning when it is on the platform, but it will deal a little bit of damage to you. Jump across until you get back inside.
After the room with Fallen enemies, be careful walking through the door. There is a whole host of mines in the next room. Navigate through them until you reach a Machine Priest. Kill her to remove the Fallen Barrier. Head outside and past more Lightning strikes towards the final encounter.
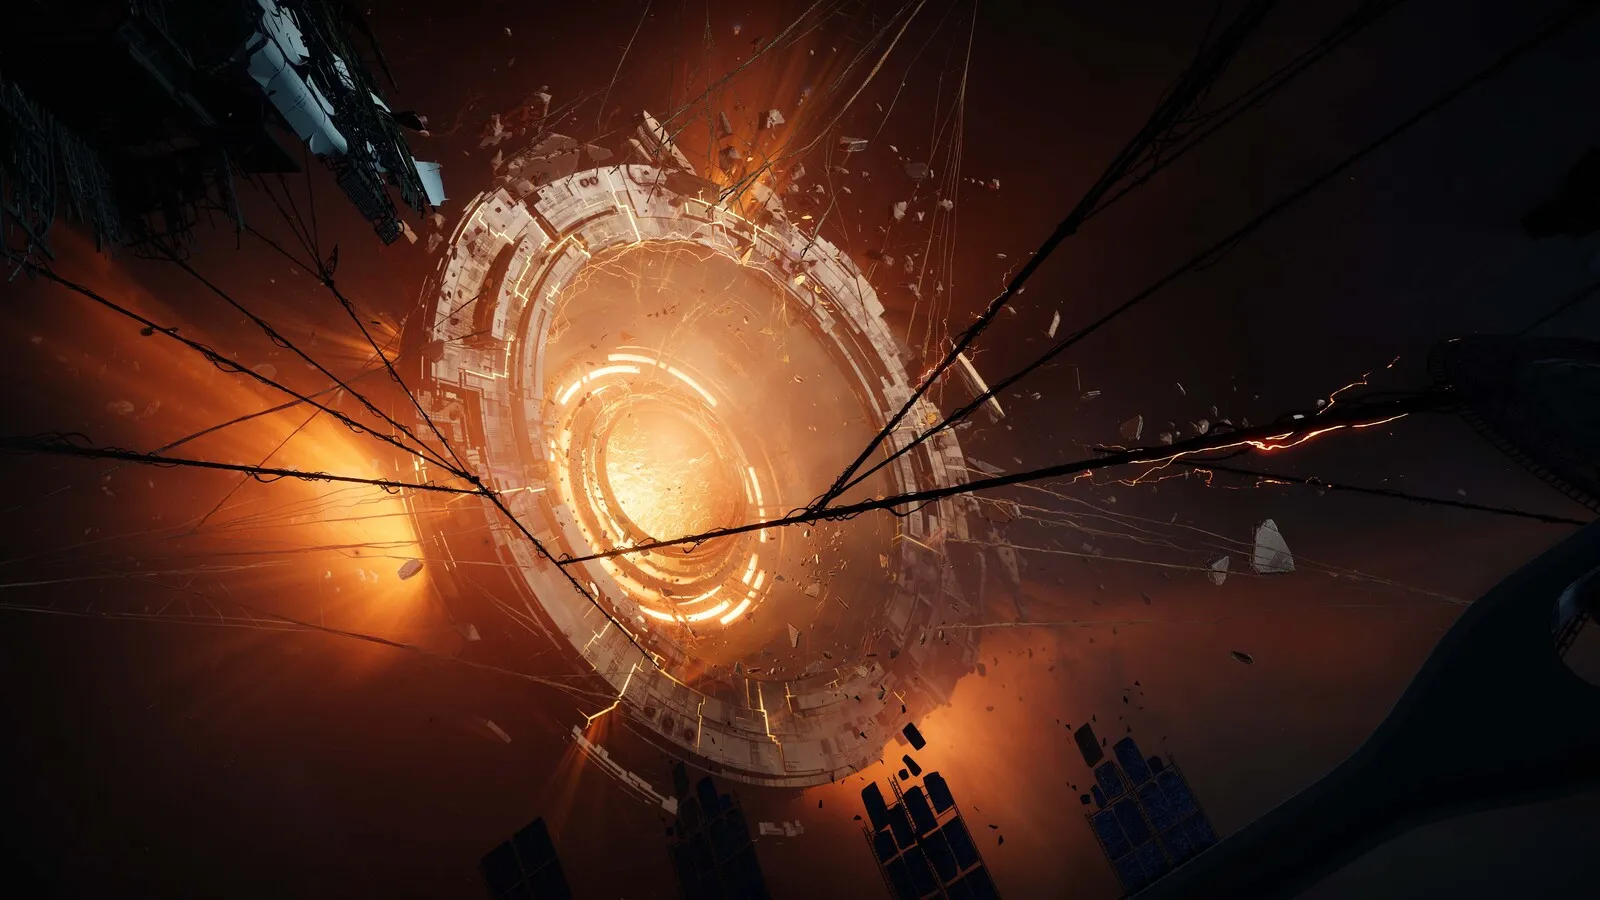
Vesper’s Host: The Corrupted Puppeteer

The Corrupted Puppeteer is the final boss of the dungeon. You will find her looking at the anomaly. Shoot her to progress. The anomaly will trigger, and down down the hole. Run through the door, rally, and get started on the final encounter.
After a brief duration, the Puppeteer spawns copies of herself and a Vandal with the Suppressor buff. Kill the Vandal and have a player pick up the buff. Use your Suppressor grenade near the copies. Be wary of standing near the copies. They have a radiation field that gives your radiation stacks over time. Breaking the copy near the clones removes the radiation bubble and the immune shield. Kill the clones to spawn the Scanner buff and another set of clones. The scanner player has four pillars to check, as noted on the map. Find the one pillar that lights up. Each pillar has a number on it:
- Close left – 1
- Close right – 2
- Far left – 3
- Far right – 4
Kill the other clones to spawn the Operator buff. The Operator player must now find the four panels matching the number called. After shooting the four panels, deposit all of your buffs into the terminals. The boss will leave. Look out for the flashing red lights. Drop down the side of the red lights. Run into the room on your side. Here, you will find the Puppeteer along with terminals and panels. Pick up your buffs again. The Suppressor player should try to remove all radiation shields from the copies to make your life easier. The Operator player must shoot all four panels. Shooting the panels locks the room and spawns four more copies.
There will be a Sector Purge Cooldown. It lasts 45 seconds and will ignite the room when it reaches zero. The Scanner player must now run up to them and find the one that lights up. Kill that one, and it will drop a nuclear core. Killing the wrong copy reduces the Sector Purge Cooldown. Have everyone deposit their buff and pick up the core. Run inside to the small room and deposit the core there.
Depositing the core locks the small room and reduces the Sector Purge Cooldown. It will ignite the outside room and remove half of the boss’s shield. Run through the corridors to the second room. The corridors do have mines and the potential copy running around. After clearing the second room, return to the main room. You can do so by taking the teleporter in the room where you drop down.
The Damage Phase
Take the elevator back to where you first saw the Puppeteer. Here is where you deal damage. The Puppeteer will teleport between the platforms and summon copies of herself. The lightning strikes will persist throughout the damage phase. There are some areas where you can stand that are unaffected.
After a period, two copies spawn in the center. One of them glows. Kill that one, and it will drop a core. Have one player pick up the core and be ready to run into the room on the left side. When the boss goes immune, run inside and deposit the core. After a short duration, the door opens again, and you have a brief window to deal more damage to the boss. The Puppeteer will become immune again, drop down the hole, and repeat the process until she dies. After The Puppeteer falls, you have completed the Vesper’s Host dungeon in Destiny 2
Related Destiny 2 Content
Vesper’s Host is one of many dungeons in Destiny 2. You can expect more raid and dungeon guides and Destiny news to follow in the coming days. Below are previous articles we have on Destiny 2.