Destiny 2 Spire of the Watch 2026 Dungeon Guide
The June 9th update brings tiered loot to every raid and dungeon in Destiny 2. Each one will see their weapons get a loot refresh and an individual armor set. The armor sets come with their own set piece bonuses. The Monument of Triumph update will be the second time that the Spire of the Watcher weapons get a reprisal. The first time was the Rite of the Nine update before the Edge of Fate.
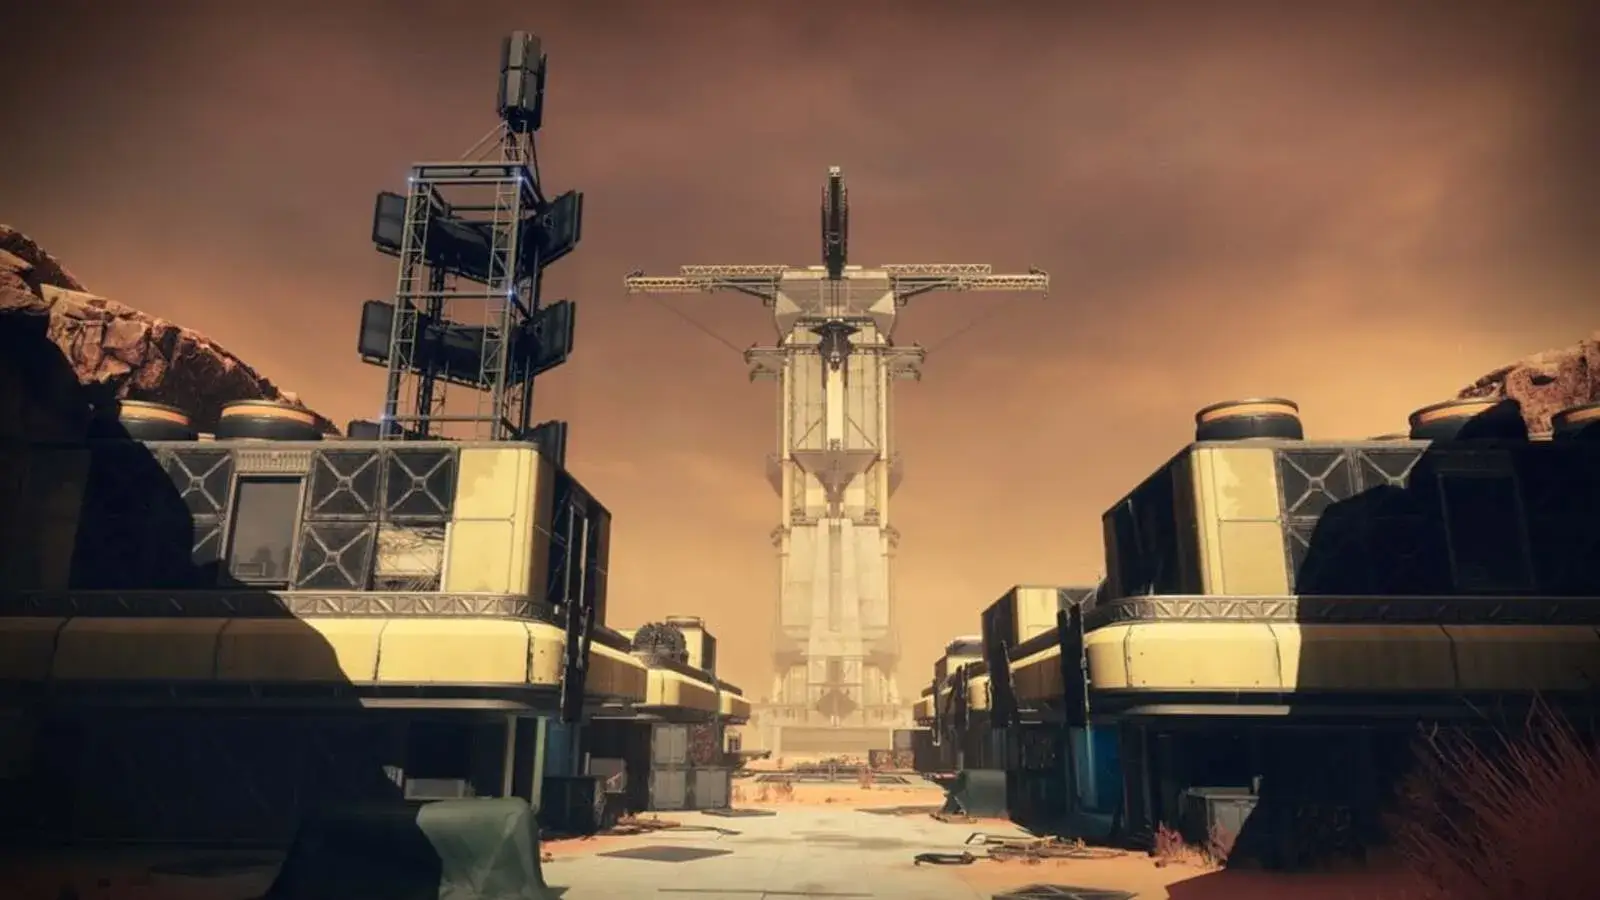
Spire of the Watcher: The Opening Encounter
You will load into the dungeon and head forward. As soon as you round the corner, turn left and jump over platforms. After one more turn, you will reach the opening encounter. The opening encounter takes you through the mechanics of the dungeon. Conduit Minatours spawn pools of Arctrician when killed. Standing in the pool grants you Arctrician for 30 seconds. While having this buff, you need to shoot nodes to activate them. However, you must shoot them in order, from start to finish. Every time you successfully create a chain between nodes, you gain additional time on Arctrician. The four starting locations for the nodes, based on the rally flag position:
- Close left in the small building on the high ground.
- Inside the left building, down a path
- Inside the right building, through a hole
- On the outside of the right building opposite the rally flag, near the Minotaur spawn.
Your goal is to follow the wires and connect the nodes to the middle section. We recommend not shooting the final node in each section until all four are ready. Shooting all four at the same time prevents Supplicants from spawning.
Spire of the Watcher: First Traversal Section
After connecting the four nodes, the door opens in the floor. Drop down the shaft all the way. Jump up to the platforms on the left and run through the hole in the way. Navigate through the small passageway. Eventually, you will reach a wider passage with holes that have red and white lights. Jump down the hole with the second red light. You will find yourself in a room, overlooking a large area. Turn to your left and jump up the platforms. Head forward and jump to the next platform.
Follow the platforms around the area to an elevator. There is a host of Vex enemies here that you can choose to kill or ignore, depending on preference. Take the elevator and head forward. Jump up and through a vent to reach the first encounter.
Spire of the Watcher: Ascending the Spire
After rallying, jump up the platforms and cross to the opposite side to find the Conduit Minotaur. Killing him starts the encounter and drops Arctrician. In front of you are the starting nodes. Follow the wires to complete the nodes on the opposite side. Once you complete both nodes, an elevator spawns. Head up the elevator for the second floor. The nodes on this floor are on the left side when looking from the elevator. One is in the room with Arc energy, and the other is on the opposite side, over the ledge. The nodes end on the right side, by the next elevator.
For the third and final floor, the starting nodes are on opposite sides. One is where you ascend, and the other starts on the other side. Complete the nodes on the right side of the area when looking from the elevator. Once done, the encounter ends. Continue to ascend the Spire, and jump onto a platform. Open the door, and jump up a little more for the second encounter.
Spire of the Watcher: Akelous, The Siren’s Current
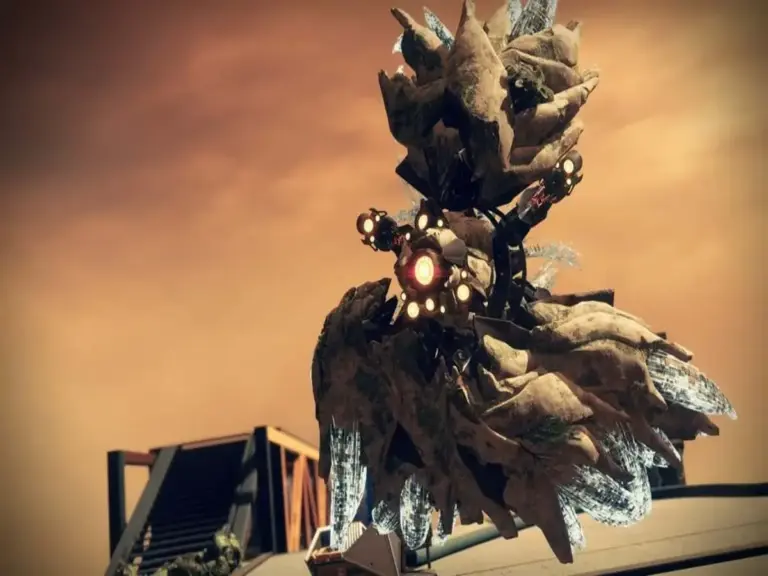
The boss for the second encounter sees the nodes return. The four starting nodes are on the initial platform. The nodes run out individually into the extended platforms. You need to complete all four nodes to start the encounter. Keep in mind, after you complete a node, Harpies spawn. They will not respawn if there are any Harpies alive. Have everyone go to the final node that you completed.
Akelous will make his way to the node. He will open up all of his eyes. You need to break all of them to start the damage phase. The faster you break them, the more time you have to deal damage. Akelous will back up to the center of the arena. If you cross his health threshold, you will have a few extra seconds of damage. If you do not cross the threshold, the boss will explode at the end of damage and send you backwards. Be wary of where you stand at this time. Repeat until the boss dies.
Second Traversal Section
The middle area will open, spawning the chest and the path to the final encounter. Drop through the hole and navigate the path. You will drop into a room with numerous Vex enemies. Kill all of them to spawn the next set of enemies, along with a Conduit Minotaur. On the wall are five nodes; however, they do not work the same as before. You do not need to shoot the nodes in order. All you need is shooting the nodes in quick succession. After shooting all five, the floor opens. Drop into the vent to reach a room with fans. Avoid the moving fans as you drop down.
You will enter a second room, with a second set of nodes. Repeat the process as before to open the floor. There is a second set of fans that you need to avoid. The third drop puts you into a room with a third set of nodes. There are four nodes on the outside wall, and one on the inside by the Hydra. After completing the nodes, two corners open. Head down towards the final boss.
Spire of the Watcher: Persys, Primordial Ruin

Persys combines the two sets of nodes from the dungeon. The encounter will start with the middle main door closing. Two Hydras spawn on either side. Kill both of them to spawn Conduit Minotaurs. Get the Arctrician buff and shoot the five nodes in the middle of the room. There is one on the inside of every pillar and above the main door. After completing the nodes, the main door opens, and the two side nodes open. The nodes begin on the outer part of the pillars. You will need to connect the nodes through wires leading into the second room. However, do not complete the nodes until Persys is standing in the room.
After triggering the node, run back to the main room. The inner nodes will open again. Make sure that one player has the Arctrician buff. Shoot the five nodes to close the door. After a brief duration, there will be an explosion. The middle door opens, and the boss becomes vulnerable. Deal damage to the boss in this window. If the boss does not die, repeat that until he is dead to clear the dungeon.
Related Destiny 2 Content
Spire of the Watcher is one of many dungeons in Destiny 2. You can expect more raid and dungeon guides and Destiny news to follow in the coming days. Below are previous articles we have on Destiny 2.