Destiny 2 Ghosts of the Deep 2026 Raid Guide
The June 9th update brings tiered loot to every raid and dungeon in Destiny 2. Each one will see their weapons get a loot refresh and an individual armor set. The armor sets come with their own set piece bonuses. Ghosts of the Deep is one of the more arduous dungeons in Destiny 2. All three encounters, as well as the first traversal section, drag on.
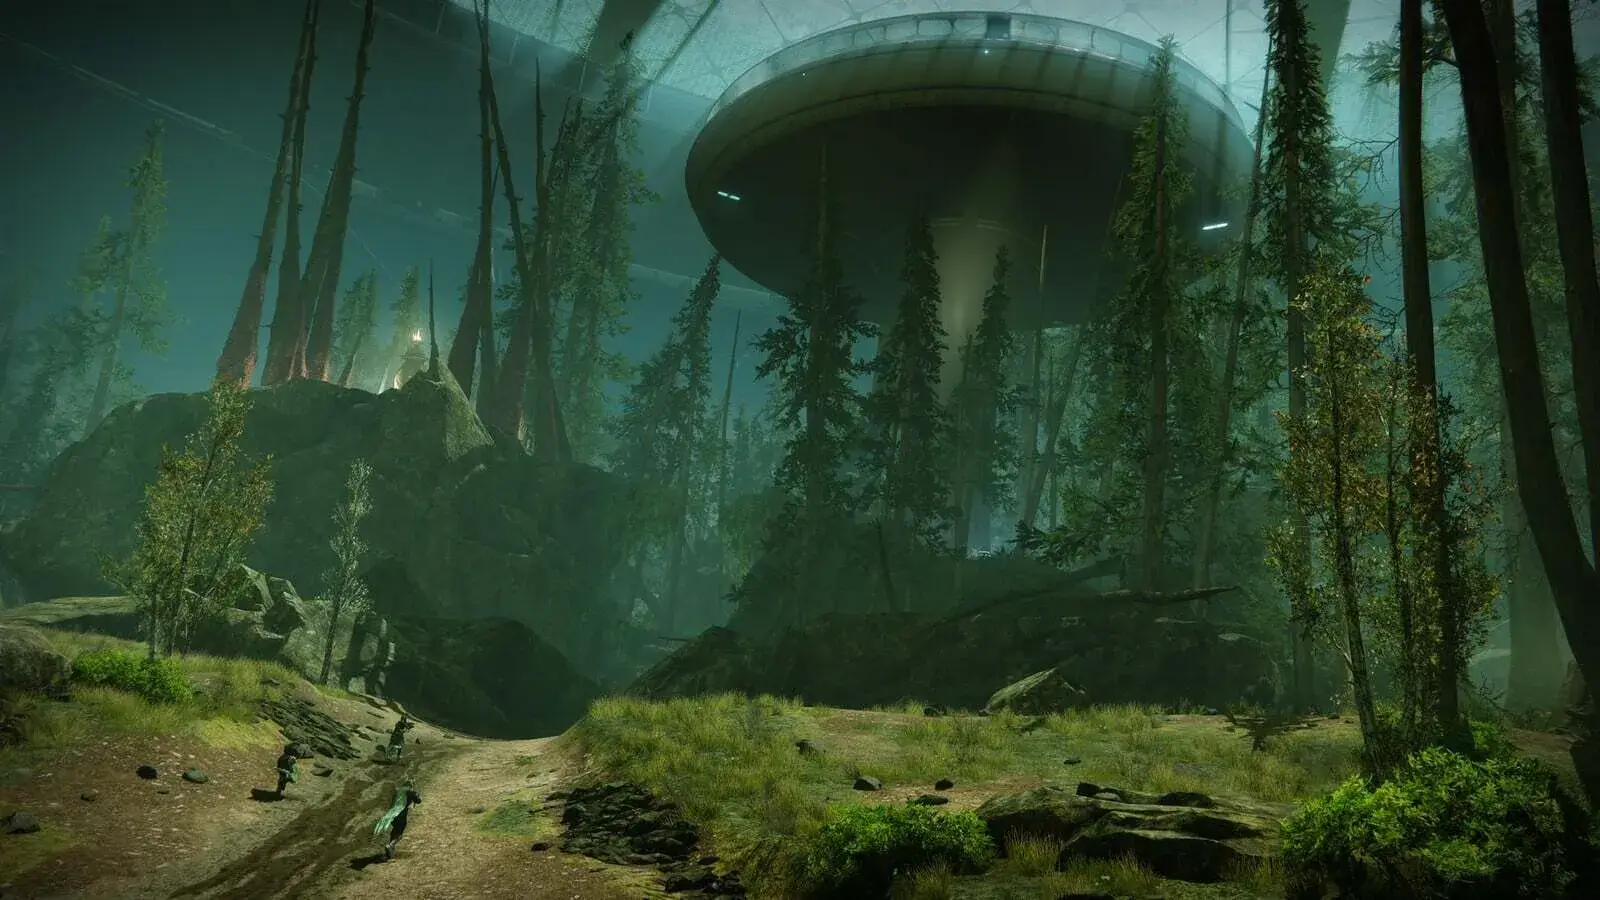
Ghosts of the Deep: Loading into the Dungeon
You will drop into the Arcology of Titan. You want to make your way to the front of the area where the door is. Head forward into the jungle area and then turn left on the path. If you follow it, you will reach the rally flag and two Hive Knights.
Ghosts of the Deep: Disrupt the Hive Ritual
Shortly after the encounter starts, a wave of Hive enemies spawns. In that wave is a Soulfire Bender Ogre. It will spawn on one of the three paths. After he dies, there will be a Hive trail along the floor. That trail will lead you to the next group of Hive enemies. Above the group of enemies is a Hive symbol. Remember this symbol. After clearing the enemies, a new trail spawns. Follow it to the next group. The third group of enemies will spawn along with a Hive Guardian. The Hive Guardian that spawns depends on the path that you follow.
When you crush the Ghost, take a look at the symbol again. The symbol does not disappear in this encounter, but it will help to get used to it for the final encounter. Crushing the Ghost gives you a Vestige of Light buff. Return to the start of the encounter. Kill the Veilweaver Wizard, and it will drop a Deepsight pool. Interact with the Deepsight to reveal the symbols on the statues. Interact with the statue that matches the path symbol. Repeat three more times to complete the encounter.
Ghosts of the Deep: First Traversal Section
After you complete the encounter, the chest spawns and the door opens. Head into the Arcology and turn right at the end. You will make another right and then drop down to the bottom. At the bottom one of the gates will have a hole. Jump through the hole onto the platform. On the right side is an opening that you can jump through. Drop down all the way and turn around. Run to the other side, and Hive enemies spawn. Clear them out to unlock the path. Keep dropping down until you reach the Methane section. Run down the methane tube in front of you.
Here is where we will skip a part of this section. Collect bubbles for pressure, but remember to share with your teammates. Instead of dropping to the platform below, we want to avoid the platform on the right. Fall until you reach the level with the second fan. Take the fan out of the Methane. Jump up into the opening in front of you, and you will return to the Methane.
Keep descending until you reach the final platform. Find the opening with the red light and head out. Drop down a bit more, and you will find the next fan. Go through the next opening and back into the Methane. Run forward until you reach the cliff. Jump off to the left for another cliff and out of the Methane.
Here will find the secret chest. Run forward into the Methane once more. Jump down the petals to the opposite side and turn left. You will have a break from the Methane for a little bit. Either kill or run past the enemies until you reach a large chasm. Jump across to the other side. Keep running forward past the thrall and back into the Methane. You will need to jump down the platforms and up through the air channel. Run through the pathway, jumping up into various openings.
After running up stairs, you will need to do some climbing. Go in the direction of, and past the Shrieker. Jump up past the Hive enemies and into a small passageway until you reach a wall with multiple holes. Jump into the one at the top, second from the right. Immediately turn right and make your way to the second encounter. You will enter the Methane one more time, run past the boss, and reach the second encounter room.
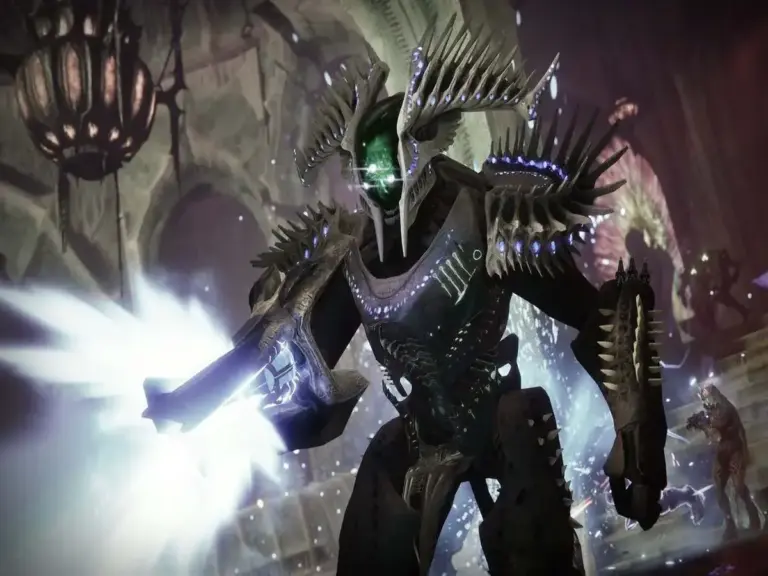
Ghosts of the Deep: Ecthar, The Shield of Savathun
Ecthar is the second encounter of this dungeon. Before starting the encounter, you can return to the Methane section to get a feel for the area. You will need this for the encounter. The encounter starts, and your first task is to kill enemies. Specifically kill the three Blistered Knights. After they die, a Keeper of the Deep Ogre spawns. Kill it, and the boss will leave the main room. A Deepsight pool will spawn where Ecthar was at the start of the encounter. Interact with it to reveal three Hive symbols. These symbols are vital for the next section.
Have one team member drop into the Methane and find the three symbols. Interact with each one. Every time they interact with a symbol, a Lightbearer Wizard spawns. Kill the Wizard and crush the Ghost. Now you will get Vestige of Light. Deposit each Vestige to begin the damage phase. Return to the start of the room, and a Wellkeeper Knight spawns. Kill him, and he drops a Hive pool. Stand in this pool and deal damage to the boss. That breaks his shield and allows you to deal damage. If one player has Arbalest, the shield will break in one shot. Repeat until Ecthar dies. Once he is dead, crush his Ghost to complete the encounter.
Ghosts of the Deep: Second Traversal Section
After the encounter ends, drop down the right side hole. Continue forward to the now-open section. Jump up the platforms and back into the Methane. Turn to your left and drop down out of the Methane. Kill Hive enemies and continue along the path. You will reach a large room with multiple Hive enemies. Traverse the path, killing them as you progress. However, keep in mind that enemies will spawn behind you. Run past or kill the Boss Ogre, and head down towards the final encounter.
Ghosts of the Deep: Šimmumah ur-Nokru
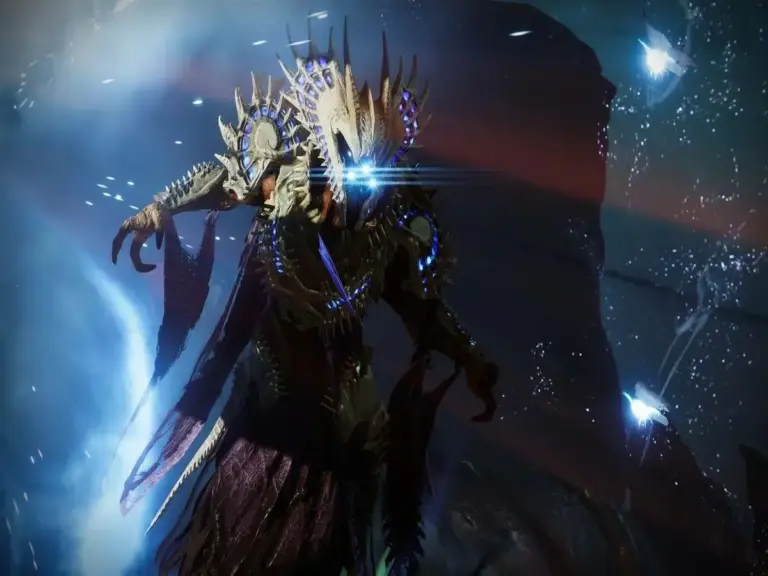
Begin the encounter by crushing the Hive Ghost. Watch out for the moths that the boss spawns. Interact with the Deepsight and look around at Oryx’s body parts. There are three connected in each phase. The heart will always be one of them. There are five potential options besides the chest.
- Oryx’s Left Hand
- Oryx’s Skull
- Oryx’s Right Hand
- Oryx’s Left Foot
- Oryx’s Right Knee
There will be a Hive Knight that Šimmumah spawns called Vorlog. You must kill Vorlog while standing inside the ring of connected body parts. Never start with the heart. After killing Vorlog, Šimmumah will teleport to the body part, and a hive circle spawns. For the first one, run towards the heart and look through the circle towards the body part you killed Vorlog at.
Successfully doing this spawns a Hive Symbol at the body part. Now you must do the same for the other two body parts until you have all three symbols. There are three outer sections of the arena. Send one player through the Methane for each section. Each player will have a Hive Guardian. If looking away from Oryx’s heart:
- Right Side – Hive Titan
- Middle – Hive Hunter
- Left Side – Hive Warlock
Pay attention to which symbol is in your room. Crush the Ghost and return to the middle. Every player who crushes a Ghost gets the Vestige of Light buff. Before you can deposit the buff, you must get Deepsight. Have the first two players deposit. Then group up at the third for the damage phase. After depositing the third one, the Hive pool spawns to break her shield. Using Arbalest on Ecthar is a recommendation. However, having Arbalest for Šimmumah is vital to decrease the number of phases. Repeat the process until Šimmumah dies and crush her Ghost to complete the dungeon.
Related Destiny 2 Content
Ghosts of the Deep is one of many dungeons in Destiny 2. You can expect more raid and dungeon guides and Destiny news to follow in the coming days. Below are previous articles we have on Destiny 2.