Destiny 2 Grasp of Avarice 2026 Dungeon Guide
The June 9th update brings tiered loot to every raid and dungeon in Destiny 2. Each one will see their weapons get a loot refresh and an individual armor set. The armor sets come with their own set piece bonuses. The Grasp of Avarice Dungeon entered Destiny 2 with the 30th Anniversary Update. Some tricks and traps in the dungeon will even catch veteran players.
Grasp of Avarice: Opening the Loot Cave
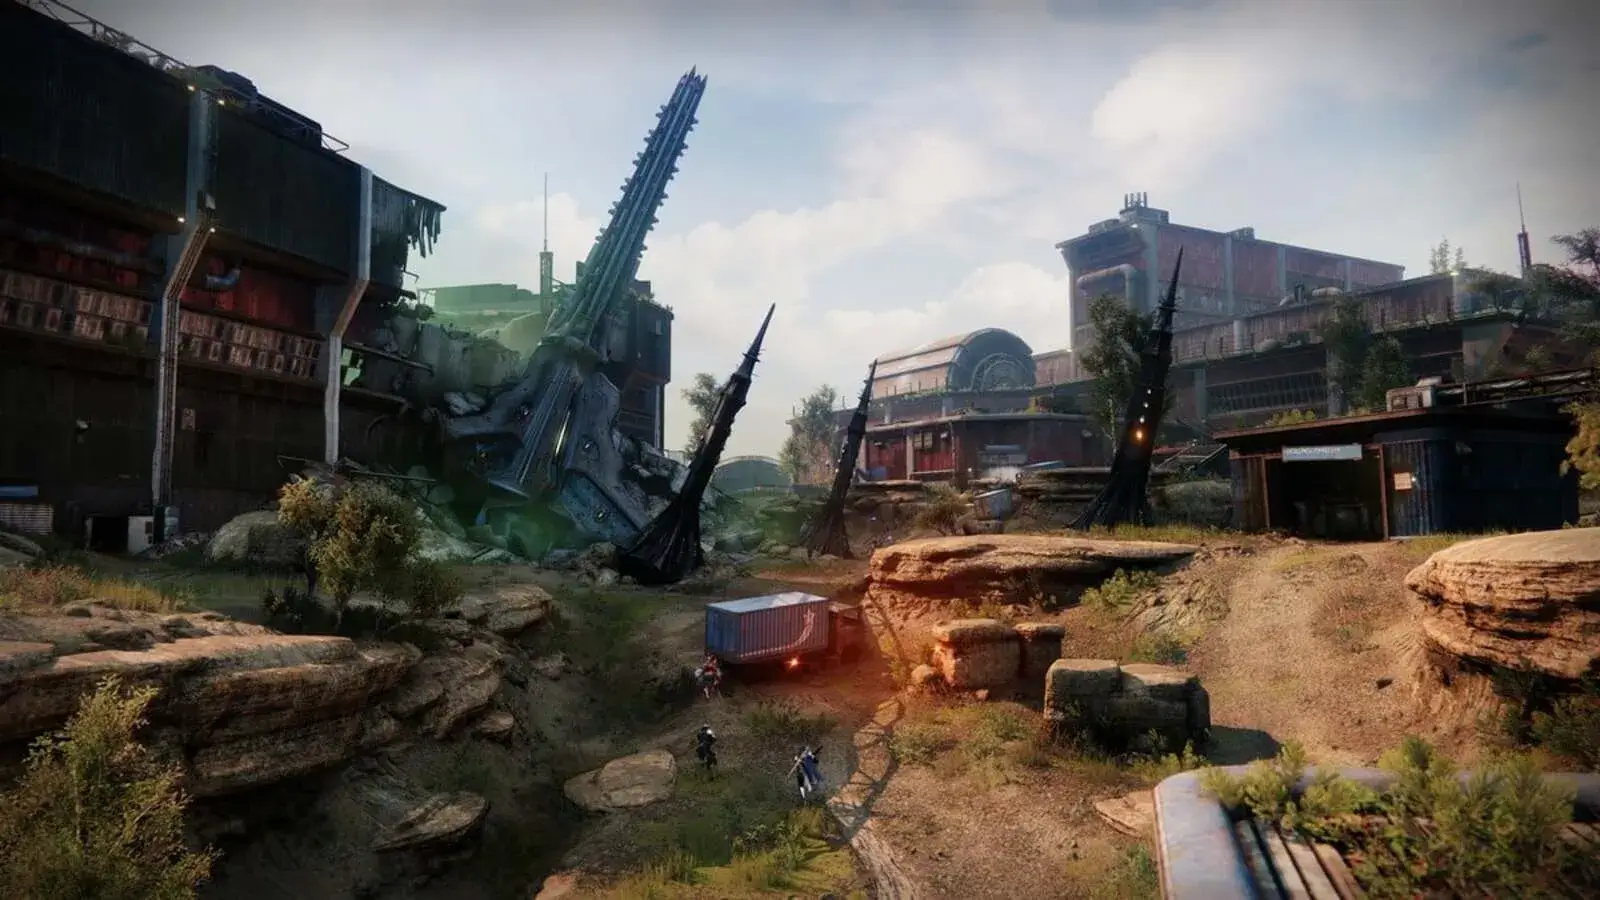
When you launch the dungeon, you will load into Skywatch. Head forward to the group of Hive and Fallen enemies. Killing the Hive enemies to drop engrams. However, these engrams do not contain loot. Instead, you will gain a debuff called Burdened by Riches. The debuff has a 30-second timer. Every time you pick up an engram, it increases your stacks and resets the timer. You can hold up to 100 engrams at a time. For the opening, you need roughly 55 engrams. Deposit them by standing near the crystal in the cave.
After you deposit enough engrams, a hole in the cave appears. Drop down the hole and run through the cave to the opposite side. Be careful of the Hive enemies, especially the Shrieker and Knights. Continue moving forward until you reach a section with multiple activatable panels. Here is where the traps start. Open the left door, but do not run in right away. There is a trap plate halfway into the room. You can either jump over it or run around it on the right side to activate a panel.
Head back out and run through the open pipe. Jump across to the platforms, but be quick. After a brief duration, the platforms drop. Jump to the other side and then turn around. Jump to the hole underneath the platforms for the next panel. Jump back out to the main room. Climb up to the pipes above. You want to go to the furthest pipe on the side of the open doors. Jump on the panel to open the hatch above. Continue to ascend, but watch out for a trap panel and pressure platforms.
Now you will reach an open area. If you can jump to the other side instantly, jump towards the room on the far left. If not, you want to zig-zag between rooms, activating the panels to change which doors open. There are traps inside the rooms along with Cursed Thrall that you must watch out for. Once you enter the final room, jump up through the hatch and activate that panel.
Doing so spawns a Shrieker and opens the large door on the opposite side. Kill the Shrieker and make your way to the now-open door. Activate the panel to open the large door on the opposite side. Jump across, and you will see two doors. Open the right side door. The next room requires you to activate a chain of panels.
- Panel One – Right Side
- Panel Two – Left Side
- Panel Three – Inside Right Side
After activating the third panel, Fallen enemies spawn. Kill the Scorch Gun Vandal and reacquire their weapon. Turn around towards door four, with a Fallen cylinder. Aim the Scorch Cannon at the center of the cylinder and hold down your primary fire button. Charge the rocket until you hear it change tune twice, and then release to open the door. Run up the stairs, but hide on the side, as there will be a drum that rolls down. After the drum passes, continue forward. Jump up onto the stack of boxes in the middle of the room to reach the vent. Head across to reach the first encounter.
Grasp of Avarice: Phry’zhia, The Insatiable
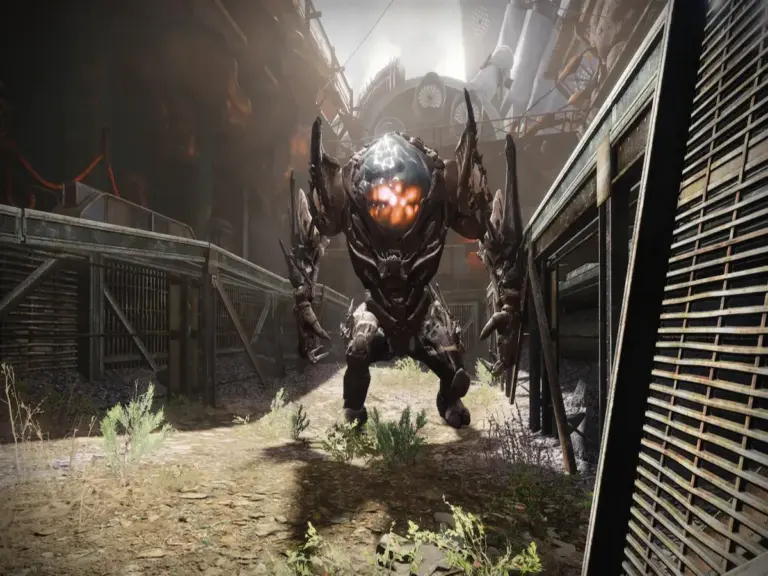
The engrams and Scorch Cannon return for this encounter. The Vandal with the Scorch Cannon spawns at the back of the arena. You will need the Cannon to open the doors on either side. Where you start does not matter. Opening the doors works the same as the traversal section. You will need one rotation of each side to have enough engrams. 25 engrams will be enough to begin the damage phase. After a brief window, the boss becomes vulnerable. Repeat until Phryzzia dies.
Grasp of Avarice: The Sparrow Section
After the boss dies, a door opens at the back of the room. Run through the path until you reach a large room with two panels. Activate the left panel and hop on your sparrows. It becomes a race against time for this section. You need to reach the various mines before the timer runs out. Fortunately, for each mine, there are two buttons you can move past to extend your time. There is usually one button on either side of the mine. Send one player straight to the mine, while the other two look for the buttons. At the end of the section, you will reach Fallen Cannons. Always boost through the cannons to reach the other side.
Grasp of Avarice: Defeat the Fallen Servitor
After clearing the Sparrow section, jump through a handful of crystals to reach the next encounter. The Servitor encounter sees the return of the engrams and Scorch Cannon. Instead of opening a door, the Scorch Cannon activates the Fallen Cannons. You only need to shoot the cylinder once to activate. You can angle the Cannons to send you in a specific direction. Your objective is to find where the Servitors are. Deposit engrams at the crystal near the Servitor to drop the Servitor’s shield. You need 25 engrams for it.
After the Servitor dies, it drops a bomb. Push the bomb towards the Fallen Cannon. Angle the Cannon towards the extension on the outer portion of the middle area. Repeat this four times to complete the encounter. After the fourth bomb hits, head to the middle arena. Take the Fallen Cannon up to the last encounter.
Grasp of Avarice: Captain Avarokk the Covetous

After the encounter starts, head to the area behind the boss. A mini boss, Shank and Vandal, will spawn. Kill them as quickly as possible. The Vandal will drop ten engrams. Search for the Scorch Cannon. On either side of the outer portion of the middle area, there are cylinders. Activating one cylinder drops engrams on every section. Drop enough engrams until you have around 65 in total. After you activate a cylinder, it closes until you use the next cylinder. Activating the cylinders is the same as Phry’zhia. After depositing all the engrams, the damage phase starts. Repeat until the boss dies and the dungeon ends.
Related Destiny 2 Content
Grasp of Avarice is one of many dungeons in Destiny 2. You can expect more raid and dungeon guides and Destiny news to follow in the coming days. Below are previous articles we have on Destiny 2.