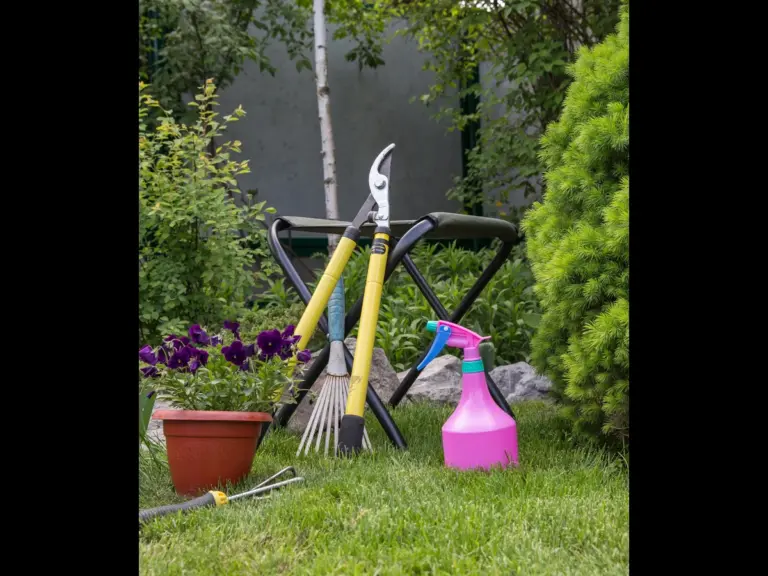
6 Easy Ways to Clean Garden Tools to Help them Last Longer
Keeping gardening tools clean is an effort we often overlook. We can take for granted that the lifespan of tools we use in everyday life can be preserved with a little extra time and effort. Many of us let tools sit in the shed, rusted and caked with dirt, but there are a few simple ways to maintain their quality and have them ready for when you need them most.
1. How to Clean
The first and most simple step in maintaining garden tools or freshening them up at the start of the growing year is cleaning loose dirt and crusted mud using a scouring pad or a stiff-bristled brush. The abrasive texture of the scouring pad is great for stubborn stains like pine resin. It also suits removing microlayers of rust on pruners or another tool if the intention isn’t for a deep clean.
Where the brush outranks the pad is in taking on caked-on garden soil without risk of damaging the wood or metal underneath. Even the stiffest of brushes will still have a hard time with sap or rust, while the scouring pad can strip polish from wood handles and scratch polish or other coatings, scouring the aesthetic and productive value of the tool.
2. How to Sanitize
When disinfecting gardening tools, hydrogen peroxide or a 10% bleach solution are among the most recommended solutions to use, but we will go over a few:
Hydrogen Peroxide (3%): Apply and let rest for 5 to 10 minutes
10% Bleach Solution: Apply and let rest for 2 to 10 minutes
Rubbing Alcohol (70% Isopropyl): Apply and let rest for 30 seconds to 2 minutes
Household Disinfectant Spray: Apply and let rest for 2 to 5 minutes
General Cleaners and soaps: Varies by product, but apply and let rest for 10 minutes (Not generally recommended outside of being the only option)
3. Simple Rust Removal
In order to remove substantial rust from a tool, a penetrating lubricant can be used to loosen rust from the underlying tool. A penetrating lubricant in this case is a capillary action solvent, a solution that adheres to one substance to make it easier to remove from another. Highly-touted options include BLaster PB Penetrating Catalyst, Felco 980 Maintenance Spray, and WD-40 Specialist® Penetrant. It is important to remember to not use Classic WD-40, as it can leech into your soil, contaminating it.
After the tool has been sprayed, allow it to sit for 5-10 minutes with the lubricant on it. After that, the tool can be scrubbed using steel wool or another similar abrasive material. This should release the corroded areas, but there will be exceptions. Rust that is too stubborn to give may require something more abrasive, such as medium-grit sandpaper or a wire wheel connected to a drill to sand the affected area down.
4. Blade Sharpening
For shovels and hoes, it is recommended to find a mill file, which tends to cost between $4-$20 USD. This tool will help smooth out blades when used at a 45-degree angle, working away from the body. For pruners and loppers, it is paramount to keep the original factory bevel. The bevel’s continued usage will help to maintain a precise angle for cutting efficiency, and it will generally prolong the tool’s lifespan.
5. Oil Protection
Best for Metal
Mineral Oil: Used to preserve metal gardening tools, especially blades. Inexpensive and food safe, this oil is completely safe for the environment.
Camellia Oil: While the more expensive of the two, camellia oil is odorless, non-toxic, lightweight, and doesn’t leave as much of an oily film.
Best for Wood
Boiled Linseed Oil: Best used for wooden handles, boiled linseed oil seeps into the wood, conditioning it to circumvent splits, cracks, and splintering.
6. Preventative Storage
Gardening tools can be kept in relatively ready condition for any impromptu projects. If playground sand is mixed with mineral oil in a bucket, most handheld tools can be preserved if placed upright. It is vital to make sure that trowels, weeders, or any other tools maintained this way are cleaned first, or the effort will be for naught.