
Overwatch Season 4 Hero Guide: Striking Fear as D.Mon

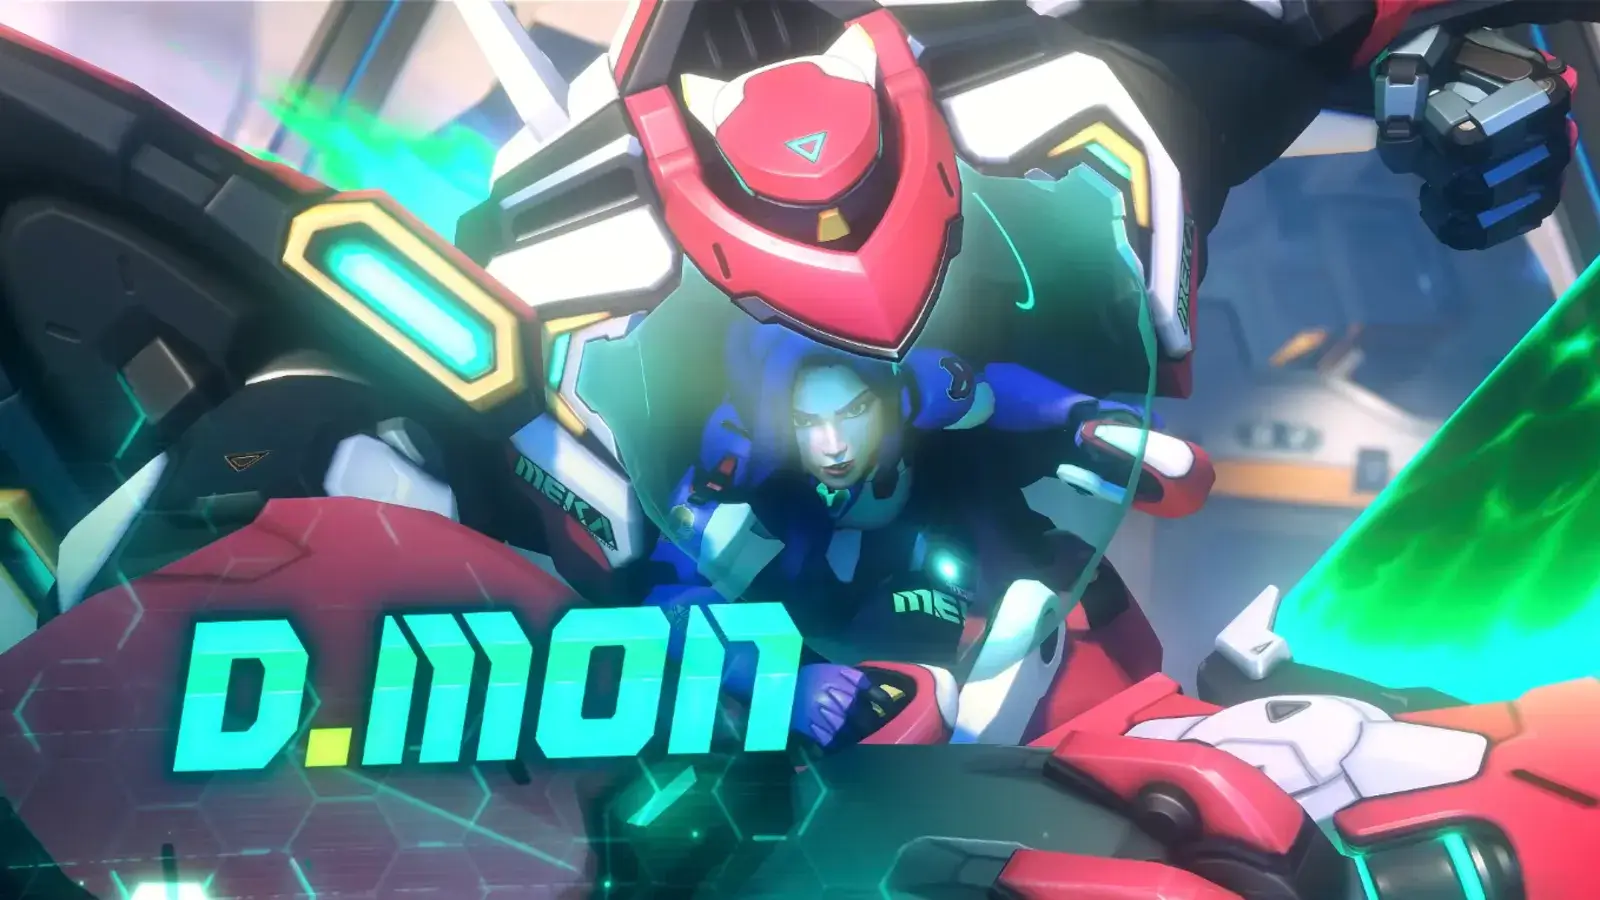
D.Mon is Overwatch’s newest hero. She is the 53rd hero added to the cast and the eighth addition during the Reign of Talon. D.Mon is a fairly mobile tank with a little bit of everything. However, her being a Swiss Army knife makes her difficult to pilot. You need to make use of her entire kit to obtain value from the second MEKA pilot added to Overwatch.
D.Mon Hero Kit Breakdown
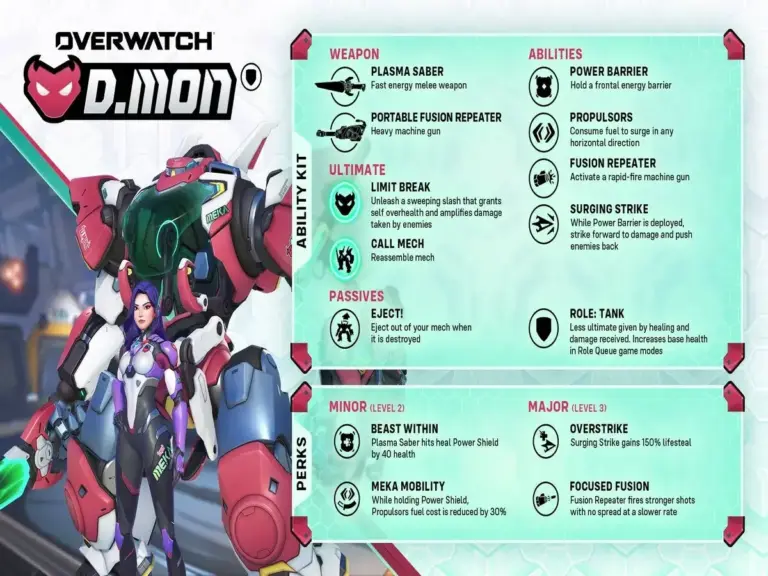
Stalwart – Gain knockback and slow resistance
Reduces all knockbacks and slows by 50%. D.Mon’s subrole passive allows her to reach targets more easily. Of course, being slowed or knocked back will decrease her effectiveness.
EJECT! – Eject out of your mech when it is destroyed
Functions identically to D.Va’s eject. When D.Mon’s mech hits zero health, she will eject from it and be in Pilot form. D.Mon does not have an ultimate that ejects her from her mech.
Plasma Saber: Fast energy melee weapon.
D.Mon’s main source of damage while in her mech. The lethality of the Saber is lower than that of Reinhardt’s. You will often need help from other sources to secure kills with the Plasma Saber. Most squishy targets can survive multiple hits without healing.
Portable Fusion Repeater – Heavy machine gun.
D.Mon’s primary fire when ejected out of her mech. Despite being a machine gun, it has lower lethality than D.Va’s Bunny Blaster. Be wary of the weapon’s spread as you continuously fire.
Power Barrier – Hold a frontal energy barrier.
Functions similarly to Reinhardt’s Barrier. D.Mon can move with Barrier active, but has her movement speed reduced. The shield is good to negate some damage, but you should not rely on it to cover everything. Use it to block high-damage abilities, crowd control like Ana’s Sleep Dart, or to move from cover to cover. D.Mon needs Power Barrier active to utilize Surging Strike. You can activate Propulsors with Power Barrier active.
Propulsors – Consume fuel to surge in any horizontal direction.
Unlike D.Va, D.Mon’s boost does not allow her to move vertically. Her mobility is lower, but her fuel regeneration is higher. Propulsors are great for a short burst in move speed to move from cover to cover, or to chase down targets. You can swing Plasma Saber, activate Power Barrier, or use Fusion Repeater with Propulsors active.
Fusion Repeater – Activate a rapid-fire machine gun.
D.Mon’s only form of ranged damage. While the damage is not amazing, it can help to soften up targets for a committed engagement. The cooldown is low enough that you can use it multiple times in a fight. You can cancel the ability early to start the cooldown.
Surging Strike – While Power Barrier is deployed, strike forward to damage and push enemies back.
Surging Strike has two uses. Either as an extra mobility tool, or to add extra damage when fighting enemies. It does not cover large distances, but when used with Propulsors, it can help close the distance. The damage is nothing to scoff at either, and will help secure kills. You need Power Barrier active to use the ability.
Limit Break – Unleash a sweeping slash that grants self-overhealth and amplifies damage taken by enemies.
Limit Break can be used as a get-out-of-jail-free card when at low health. As long as you hit one target, you get a fair amount of overhealth. However, using it as a tool to win a fight is more important. The Vulnerability, along with the damage, makes it easy to win fights with it.
Call Mech – Reassemble Mech
D.Mon’s ultimate while in pilot form. She reassembles her mech and deals damage to enemies around her. D.Mon can use Call Mech while mid-air.
D.Mon’s Perks
Minor Perks
- Beast Within
- Plasma Saber hits heal Power Shield by 40 health.
- MEKA Mobility
- While holding Power Shield, Propulsors fuel cost is reduced by 30%.
Major Perks
- Overstrike
- Surging Strike gains 150% lifesteal
- Focused Fusion
- Fusion Repeater fires stronger shots with no spread at a slower rate
Striking Fear Into Your Opponents
Playing From Cover to Cover
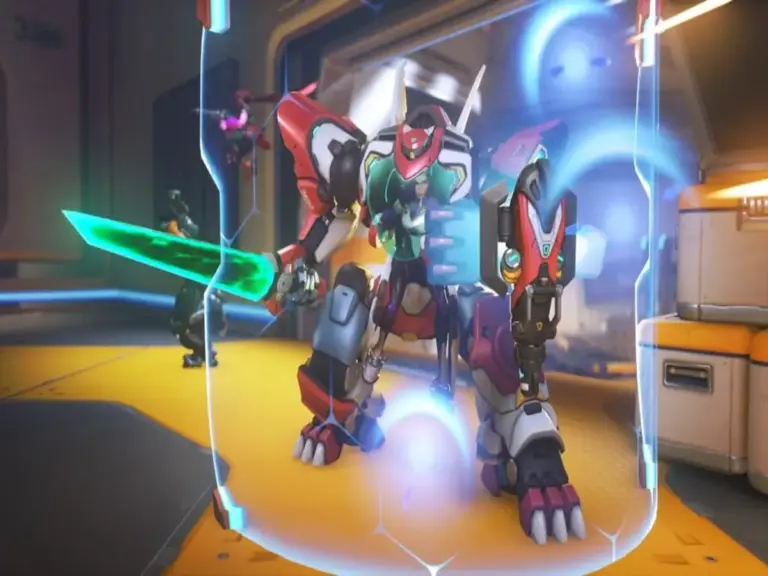
D.Mon has limited mobility, which makes hunting down targets difficult. Cover is your best friend to reach targets without losing resources. Use cover to regenerate health and shield, poke at enemies with Fusion Repeater, and plan your next move. Knowing where you are going will help you execute your plans. The more enemies have to consider your position, the less they focus on your teammates.
Playing Around Teammates
D.Mon lacks the solo carry potential of other Tanks. She needs attention from her Supports and damage from her DPS to function. D.Mon will rarely kill multiple targets in a fight all by herself. Play as the distraction and the focus to draw resources. Just charging into fights will rarely lead to success unless you have ultimates to back you up. Play methodically, and around your teammates’ upswings to garner value.
Be Ready to Disengage
Do not use all of your resources to engage unless you have the utmost confidence that you can win the fight quickly or without your mech. Often, having soft engages will set up your team for success. Draw resources, rest, and go again. The Fusion Repeater is a great tool to force resources out of your opponents.
More Overwatch Content
Stay tuned for more Overwatch content at Total Apex Entertainment, with a D.Mon guide likely to follow next week. Below are the guides for the five heroes released in Season 1.
- D.Mon’s Overwatch Introduction
- Jetpack Cat Overwatch Guide
- Mizuki Overwatch Guide
- Emre Overwatch Guide
- Sierra Overwatch Guide
