
How to Make a Beautiful Fall Wreath for Your Front Door

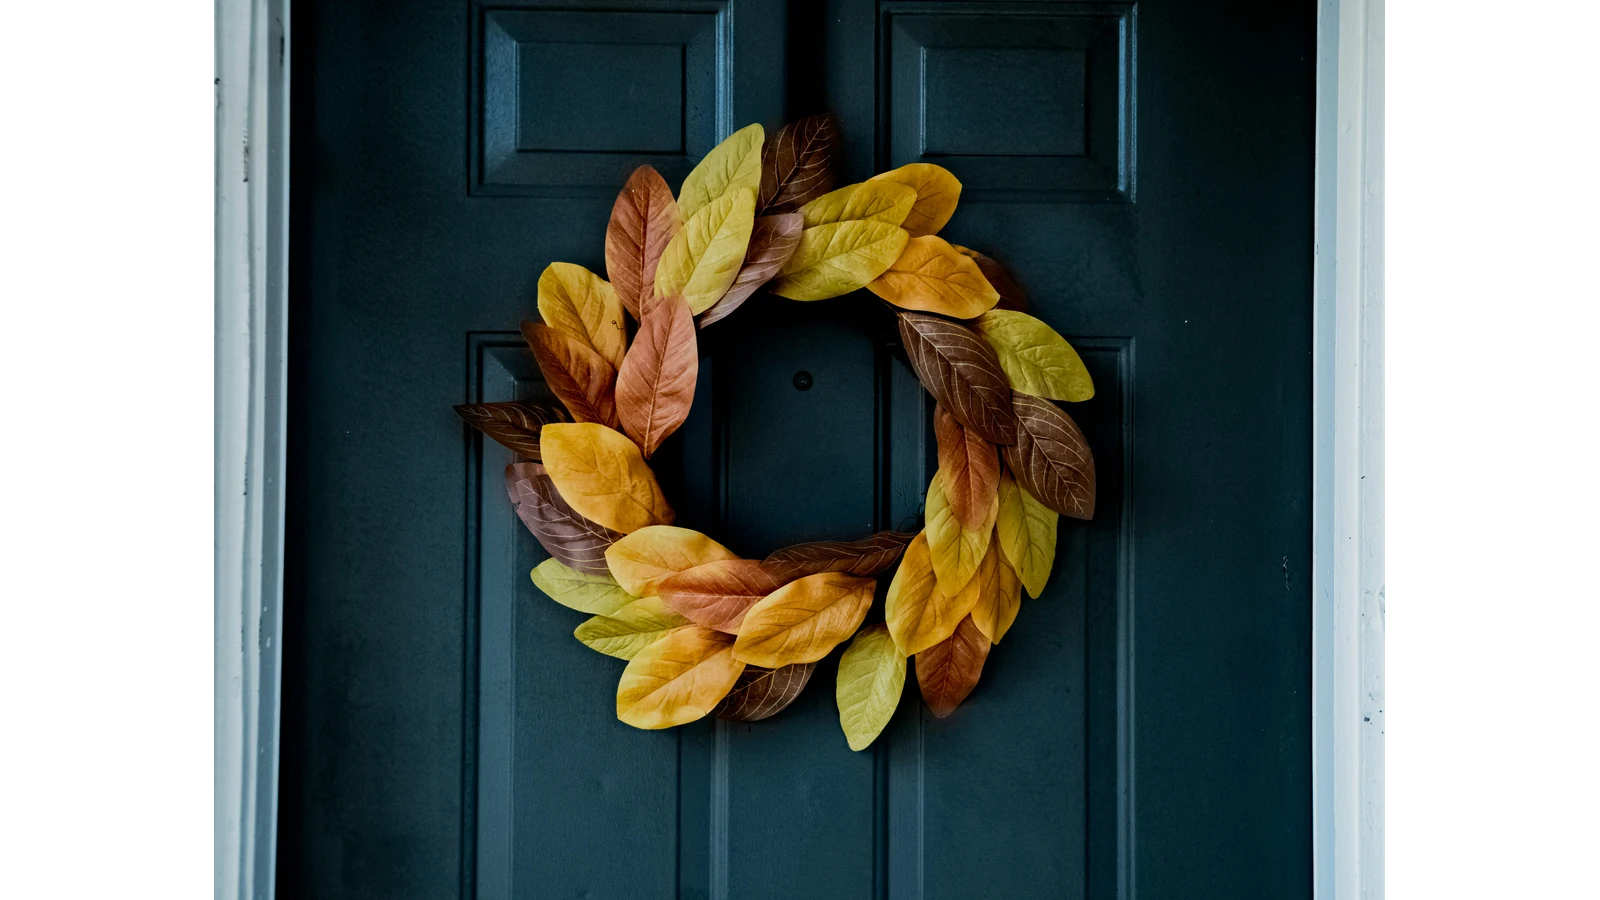
Every September, the same thing happens. You walk past a neighbor’s porch, spot a gorgeous fall wreath dripping with burgundy leaves and little velvet pumpkins, and immediately spiral into a shame cycle about your own bare front door. Relax. You don’t need a florist’s degree or a Pinterest board with 400 saved pins to fix this. You need a glue gun, some patience, and maybe a snack break halfway through.
Why Bother Making a Fall Wreath When Target Exists
Sure, you could buy one. But store-bought fall wreaths tend to look like they were assembled by a sad robot on a deadline, symmetrical, stiff, and weirdly glossy for something meant to evoke crunchy October leaves. Making your own fall wreath means you control the chaos. You pick the colors that actually match your door instead of settling for “seasonal beige.” It costs less, it lasts longer, and you get to tell everyone who compliments it that you made it yourself, which is objectively one of the best flexes available to a homeowner.
What You Actually Need for a Fall Wreath
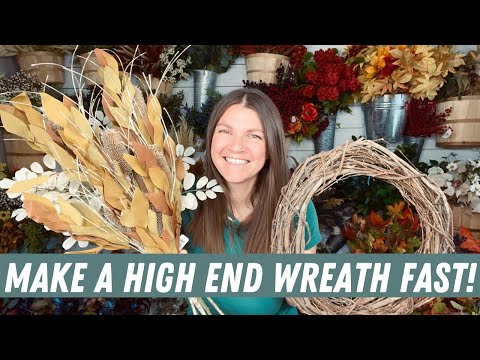
Before you start, gather your materials so you’re not sprinting to the craft store in your socks. You’ll want a wreath base (grapevine, straw, or foam all work), floral wire, a hot glue gun, wire cutters, and a mix of faux fall foliage, think oak leaves, wheat stems, and maybe some dried hydrangea if you’re feeling fancy. Add a few accent pieces like mini pumpkins, pinecones, or berry sprigs. None of this needs to be expensive. Half of it can come from a dollar store, and truthfully, nobody inspecting your fall wreath from the sidewalk is checking price tags.
Building the Base (The Unsexy Part)
This is where most people get impatient and regret it later. Lay your wreath base flat and start attaching your largest foliage pieces first, working in one direction around the circle like a clock. Use floral wire to secure stems, then reinforce with hot glue so nothing goes flying the first time the wind picks up. Don’t aim for perfect symmetry. A fall wreath that looks too calculated ends up looking fake, and fake is not the vibe you’re chasing here.
Layering Foliage Without Losing Your Mind
Once your base layer is secure, it’s time to fill in gaps with smaller stems and varied textures. Mix colors instead of clumping all the orange in one spot and all the red in another; real autumn doesn’t organize itself that neatly, so your fall wreath shouldn’t either. Step back every few minutes and look at it from a distance, because up close everything looks fine and then you hang it on the door and discover a giant bald patch staring back at you.
Adding the Extras That Make People Stop and Stare
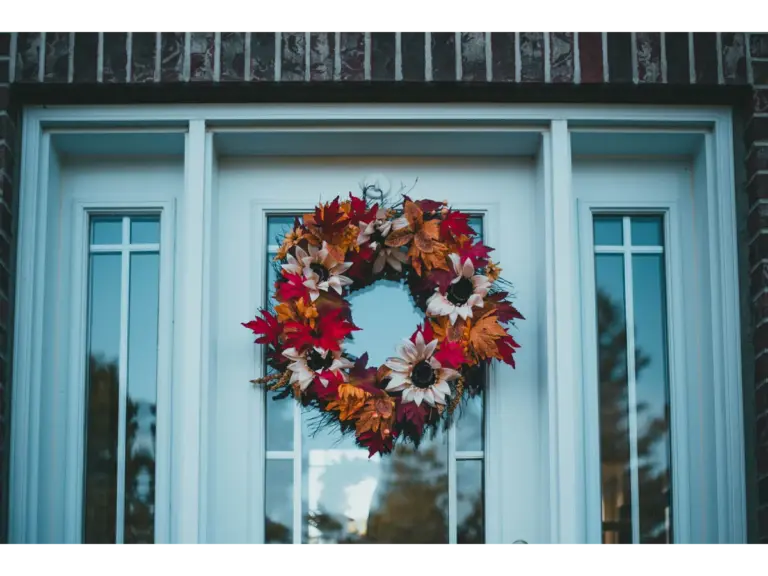
This is the fun part, and also the part where restraint matters more than you’d think. Tuck in your mini pumpkins, pinecones, or a plaid ribbon bow near the top or bottom. A well-placed ribbon can turn a decent fall wreath into the kind of thing people photograph for their own inspiration boards. Just don’t overload it. One showstopper accent beats five competing ones that just create visual noise.
Hanging Your Fall Wreath Without Regret
Grab a sturdy wreath hanger that fits over your door frame, not a flimsy command hook destined to fail during the first autumn storm. Center it, step back, and adjust until it looks intentional rather than accidental. That’s it. Your fall wreath is done, your porch finally looks like it belongs in October, and you get to enjoy the smug satisfaction of telling anyone who asks that yes, you made it yourself, thank you very much.
Written with the help of AI, reviewed and edited by Shaunda McFadden
