
V.A.U.L.T. PROTOCOL throws Operators into dangerous facilities packed with monsters, anomalies, blessings, and valuable loot, but survival isn’t easy when you have to reach quote, balancing the pros and cons of one more trip into the dark can be daunting. Whether Operators are struggling to navigate the Hospital, wondering which treasures are worth hauling back to the POD, or trying to survive encounters with the Observer and Angler Fish, these tips can help make runs more profitable and a lot less painful.
Know the Floors: Hospital, Factory, and Bunker
Of the three floor types in V.A.U.L.T. PROTOCOL, the Hospital is easily my favorite. Multiple levels, upstairs areas, and basement-like sections make it feel deeper and more interesting to explore than the other maps. It’s also where I’ve found the nuclear fuel rod most frequently. This radioactive item surrounds its holder with a damaging glow that affects enemies and teammates alike, making positioning especially important. The Hospital’s wider doorways also make navigation easier than some of the game’s tighter environments.
The Factory is easier to get around than the Hospital or Bunker, at least until the lighting decides to work against the team. However, the dim lighting can make spotting threats difficult, especially in some of the floor’s stranger rooms. Areas with apparent anti-gravity effects and chambers filled with massive balloon-like structures can obscure enemies like the Observer or Angler Fish. Martin the Turtle can also become a major problem if he wedges himself into a doorway and blocks the escape route.
Then there’s the Bunker, my absolute least favorite floor type. Its seemingly endless corridors remind me of the sprawling underground environments in Fallout: New Vegas, except that getting lost here can become a much bigger problem when trying to escape with valuable loot. If Martin blocks one of those narrow passages, killing him may become a necessity rather than an optional detour. This is where spray paint becomes especially useful: I mark the floors with little arrows pointing toward the POD or ship, giving me a trail to follow when it’s time to leave. Trust me, you don’t want to be wandering those hallways longer than necessary.
Loot Worth the Risk: Know What to Keep and What to Leave
Not every item deserves a spot in an Operator’s inventory, especially when carrying it back to the POD means risking another encounter or spending more time navigating the facility. Gold bars, golden plungers, biohazard canisters, clown masks, and hot potatoes are among the best items to prioritize. Hot potatoes can be dangerous for inexperienced Operators, though, because they damage the Operator’s health while being held. On the other hand, mice, circuit boards, wallets, and cables that look like giant spools of string generally aren’t worth grabbing unless picking them up on the way out; don’t waste valuable time retrieving them when better loot is waiting elsewhere.
Some of the best finds come with a catch. The Blood Battery is a particularly interesting example because its value increases from 127 to 169 when fully charged in beginner levels. It damages the holder’s health while carrying it, but if they have enough HP and can manage the risk, allowing it to drain health can be worthwhile for the extra money. The Operator Maw can be worth killing for its egg before it transforms into its Venus flytrap-like form with a bean-shaped head, but killing enemies also increases the threat level.
Screamers and Martin the Turtle drop monster hearts, while turrets can yield valuable graphics cards if Operators can destroy them safely. Sometimes a fight is worth taking for the reward; other times, the smartest move is to keep moving. Survival in V.A.U.L.T. PROTOCOL isn’t about killing everything. Puke Guy’s acidic vomit might seem useful, but I’ve found him to be more trouble than he’s worth. The Mute Slug offers little reason for concern, Huggy is effectively harmless, and while Tfrog is annoying because it steals items, eliminating every creature encounter rarely improves a run.
More importantly, eliminating too many creatures risks summoning the Observer or the Angler Fish. Both can kill in one hit, making these encounters exceptionally dangerous. I’ve yet to see anyone successfully kill the Observer, and watching Operators try usually ends the same way: they eventually give up, turn their back, and get killed. The Angler Fish demands an immediate response when it dashes, because dying during its first dash means game over. Talking too much or relying on walkie-talkies too frequently can also be dangerous, so be mindful of how much noise the team makes.
Upgrades and Blessings: Give Operators an Edge
If there’s one thing I’d prioritize when starting out, it would be finding the blessings, as there’s usually only one per floor. The Kipchak Mask is a glowing teal mask with a mustache that increases the damage all Operators can deal, making it particularly useful for teams investing in stronger punches. Midas Curse is a golden-yellow skull with sky-blue eyes that increases the value of items each time it is found. Umay’s Blessing features a heart with wings and increases everyone’s health, giving the entire team more room to survive dangerous encounters. Since these blessings benefit the group, finding them can make a meaningful difference to an expedition rather than simply improving one Operator’s chances.
New Operators should prioritize health and stamina upgrades early because mistakes are inevitable while learning the maps. Health boosters and health regeneration upgrades help Operators survive encounters, while stamina and stamina regeneration upgrades provide more room to maneuver when things go wrong. Umay’s Blessing can further improve the team’s survivability, but don’t mistake additional health for invulnerability. The Observer and Angler Fish can kill in one hit regardless, so no amount of health should encourage Operators to take unnecessary risks around them. A stronger Operator is useful, but knowing when to run remains an important survival skill.
The katana carried me through my first several runs and remains one of the better early-game purchases. However, by investing in punch upgrades and benefiting from the Kipchak Mask’s damage increase, Operators can reach a point where carrying a weapon becomes unnecessary. That means one less item taking up inventory space and another slot for valuable loot. Prioritize inventory upgrades. Each Operator can use two, bringing their capacity to seven slots. Rather than spending resources on an assortment of weapons, focus on upgrades that improve survivability, damage, and ability to carry home the rewards.
Long-Term Progression: V.A.U.L.T. PROTOCOL Preparedness
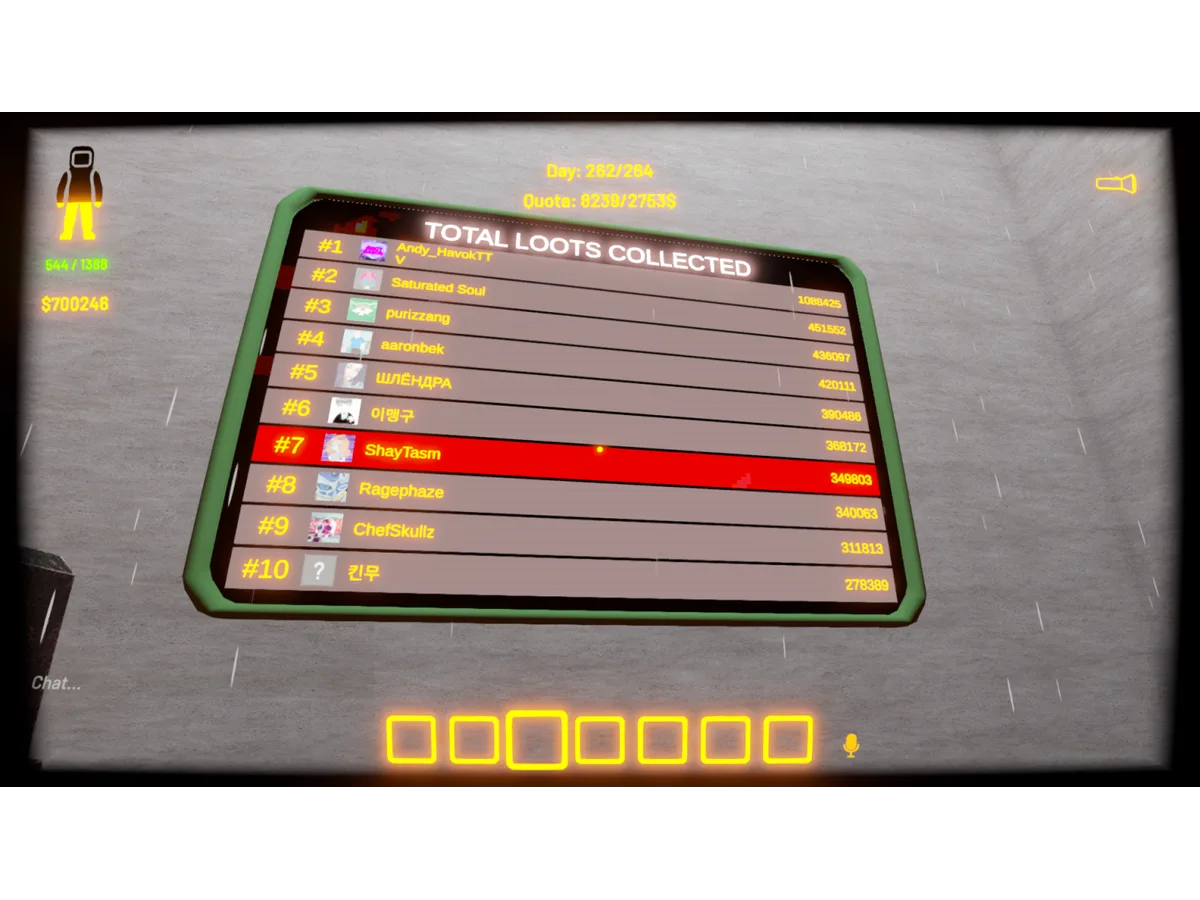
Try to reserve excess valuables in the vault command room, instead of selling everything immediately. Keeping a reserve gives flexibility when facing unpleasant anomalies or ending up on a floor you’d rather avoid. Inventory Roulette is one such headache, as I almost always seem to end up with just one or two inventory slots. The 2 for 2 anomaly, where half the team becomes tiny and the other half huge, isn’t much better, and No More Burgers can leave Operators lumbering around at a snail’s pace.
Herd Protocol is a strange anomaly where one Operator remains while the rest of the team become robot dogs with only one inventory slot. The Operator puts up to 4 items on the dogs, who run back to the entrance and shake the items off inside the POD. The worst part is the dogs only bark, so there’s no meaningful way to communicate anything. Having resources set aside for these situations can make a frustrating anomaly much easier to manage.
Ultimately, V.A.U.L.T. PROTOCOL rewards Operators who know when to push their luck and when to call it a day. Most successful runs come down to a few simple habits: learn the floors, mark escape routes with spray paint, and avoid getting distracted by loot that isn’t worth hauling back. Having a reserve of valuables for bad anomalies doesn’t hurt either, especially since I try to avoid the bunker as frequently as possible.
Most importantly, remember that the most dangerous enemies aren’t always the ones worth fighting. The Observer and Angler Fish can end a run in an instant, and no gold bar or monster heart is worth losing everything over. Sometimes the best decision is to leave the loot that’s not worth the trouble, avoid a fight that could summon something worse, and get back to the POD before luck runs out.
 Don't stop here
Every Score. Every Story. One Home.
Breaking sports, entertainment and news from across the Total Apex network, updated all day.
Get the Full Story →
Don't stop here
Every Score. Every Story. One Home.
Breaking sports, entertainment and news from across the Total Apex network, updated all day.
Get the Full Story →