
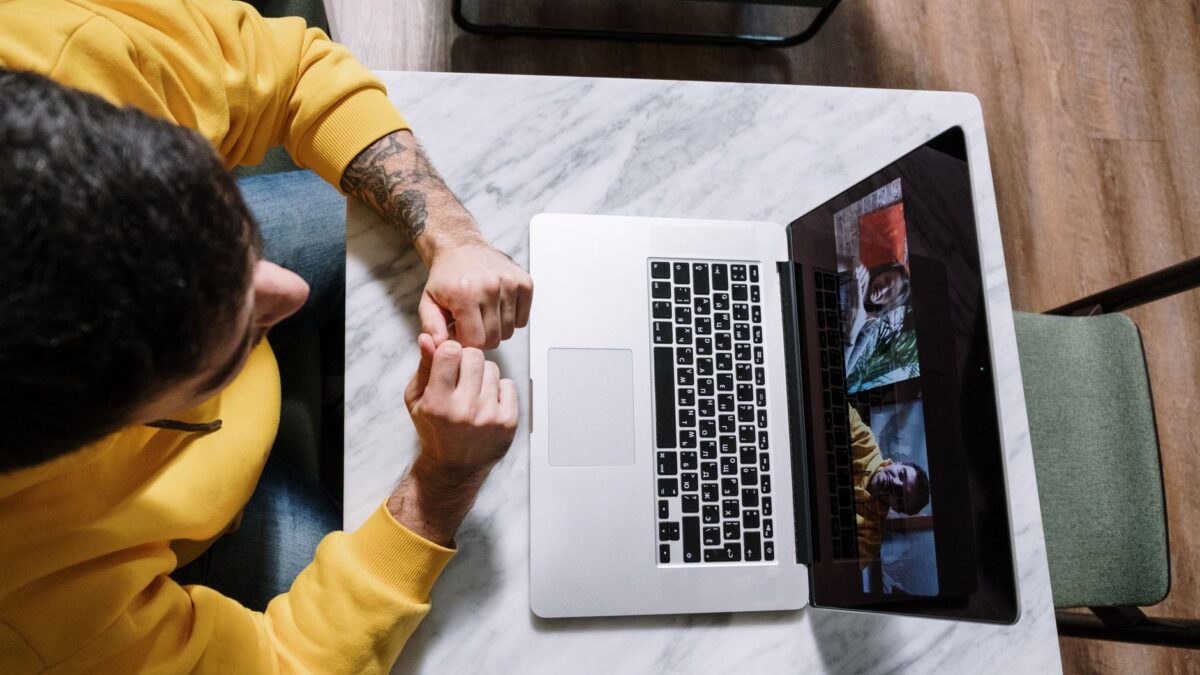
Your laptop’s built-in webcam is probably dimmer and grainier than you’d like. The good news: you don’t need to buy new gear right away. A few simple adjustments to lighting, placement, and software settings can improve your laptop webcam quality significantly for video calls and online meetings.
1. Fix your lighting first
Lighting is the single biggest factor in webcam quality. A built-in laptop camera struggles in low light, producing dark, blurry, or grainy video. Position yourself facing a light source, a window, lamp, or overhead light, so the light hits your face directly, not from behind you. Backlighting makes you look like a silhouette.
If you’re in a dim room, move closer to the nearest light or add a desk lamp nearby. You don’t need special studio lighting; ordinary room lighting placed in front of you makes a dramatic difference. Avoid harsh shadows by using soft, diffused light rather than a single bright spotlight.
2. Adjust your camera placement
Most laptop webcams are centered at eye level or slightly below when the screen is in use. This angle works, but you can improve it. Position your laptop so the camera points at your face straight on, not up from a tilted screen.
If your camera is built into the top of your monitor, bring the monitor up with a stand or books so you’re looking slightly down at it, this is more flattering than looking up.
Distance matters too. Keep your face about 18 inches from the camera.
Too close and you’ll distort your features; too far and you’ll lose detail. Center yourself in the frame so the camera captures your head and shoulders clearly.
re looking slightly down at it, this is more flattering than looking up.
Distance matters too. Keep your face about 12 to 18 inches from the camera.
3. Check and adjust your camera settings
Your operating system and video app both have camera settings. In Windows 11, search for “Camera settings” and check that brightness, contrast, and exposure are not set too low. Some laptops have a dedicated camera app where you can preview and adjust these values in real time before your call.
In your video call app, Zoom, Teams, Google Meet, look for camera settings before you join a meeting. Many apps let you adjust brightness and exposure right there. Test your camera in the app’s preview window to see what changes help. Enable any automatic brightness or contrast features the app offers; these adapt to your lighting as you move.
4. Clean your lens
A dusty or smudged webcam lens degrades image quality more than you might expect. Use a soft, dry cloth, microfiber is ideal, to gently wipe the lens. Avoid compressed air on laptop cameras; the pressure can damage them. A quick wipe takes seconds and often produces noticeably clearer video.
5. Update your camera drivers
Windows updates camera drivers occasionally. Go to Settings > Device Manager, find your camera listed under “Imaging devices,” right-click it, and select “Update driver.” Choose “Search automatically for updated driver software.”
If an update is available, install it and restart your computer. Better drivers can improve image processing and color accuracy.
When to upgrade: External webcams to improve laptop webcam quality
If you’ve optimized lighting, placement, and settings and your video still looks dim or blurry, an external webcam may be worth the investment. Built-in laptop cameras max out at 720p on most models. External webcams start at 1080p and go up to 4K, capturing much finer detail.
The Razer Kiyo Pro, priced at $200, is built with a Sony sensor designed for low-light performance and shoots at 1080p/60fps over USB-C, which has more bandwidth than older USB-A connections. It includes adjustable field-of-view modes (Wide, Medium, Linear) and dynamic range expansion to preserve detail in faces. For streamers and professionals who spend hours on video, the sharper image and low-light capability justify the cost.
Budget-conscious users may prefer the Hollyland Lyra, available for $149, which shoots at 4K/30fps (or 1080p/60fps) with a 1/1.5-inch sensor and f/1.8 lens. The Lyra includes automatic brightness, contrast, and exposure adjustments based on your environment, plus a “beauty mode” filter. Hollyland offers it bundled with a wireless Lark A1 microphone for an extra $10, which also improves audio quality over your laptop’s built-in mic.
Another surprisingly effective option: use your Android phone as a webcam on Windows 11 by connecting it via USB cable and switching the USB mode to “Webcam.” Google Pixel phones and others with this feature deliver significantly better image quality than most laptop cameras. The phone’s camera sensor is newer and larger, and you can position it at any angle within cable length.
Some manufacturers like Samsung and Motorola disable this feature, but Phone Link, a native Windows app, works wirelessly as a workaround. This method costs nothing and often produces a noticeably sharper, more flattering image.
What’s next
Test your changes before your next important call. Start a Zoom or Teams meeting by yourself, or use a free webcam testing site to preview your video with each adjustment. Once you find the right lighting angle and camera position for your space, keep them consistent. Most people see the biggest improvement from better lighting alone, it’s free and takes no time.
Reporting from The Verge, Cnet, Tom’s Guide and Windowscentral contributed to this story.