
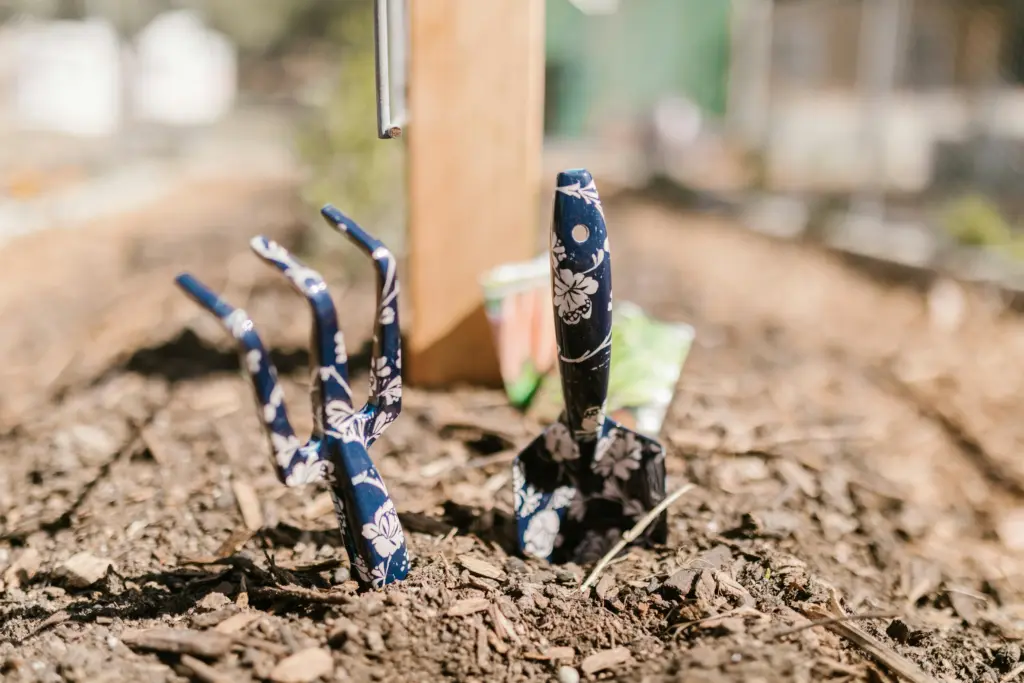
Mulch and Winter Garden Prep: Do This NOW – Before the Frost
The garden is yawning and tucking in. Winter garden prep isn’t glamorous—it’s a last sweep, a quiet promise, and a bit of dirt under the nails before the cold claps shut. Mulch is the blanket, the hush, the steadying hand that keeps the soil from breathing too fast when the freeze‑thaw stutters. Lay it down, speak the simple language of care, and let the beds sleep without worry.
Mulch in Real Terms
In winter garden prep, mulch stabilizes soil temperature, slows moisture loss, and shields against wind‑slap erosion. The work is unromantic and essential. You spread it, you walk it in, you let it do its job while the garden goes quiet. Come spring, roots wake into steadier ground, not a rollercoaster of freeze, thaw, and lost topsoil.
Beneath the Surface
- Temperature steadies: it dampens the extremes so crowns and roots don’t yo‑yo through freeze‑thaw shock.
- Moisture holds: a proper layer reduces evaporation and keeps winter watering minimal but meaningful.
- Erosion resists: it also keeps soil where it belongs—anchored, insulated, and less compacted by rain or snow melt.
Together, these deliver one truth: prepping before winter is like insurance for what you plan to grow in the spring.
Choosing the Right Mulch

- Organic, locally simple: Leaves, clean straw, and wood chips are the backbone—affordable, available, and quietly nourishing.
- Compost‑forward blends: A thin compost layer underneath adds slow nutrients while the top blanket insulates.
- Purposeful exceptions: In beds that need weed suppression without added breakdown, use bark chips or a chip‑heavy mix.
Pick what you can source consistently, then stick with it—consistency beats perfection.
Apply Before Winter Without Fuss
- Clear the trouble: Remove weeds, spent annuals, and diseased plant matter so you’re not tucking pests in for winter.
- Layer truly, not lazily: Spread 2–4 inches. Keep mulch off trunks and crowns by a few inches to prevent rot.
- Lock the edges: Walk the perimeter, hand‑press high‑wind zones, and top off thin spots—three passes to finish clean.
If you’re working around perennials or shrubs, circle wide, leave breathing space, and resist the urge to overstack.
Three Mistakes to Avoid
- Pile against stems: Keep raked back from touching bark, it invites moisture and decay where you don’t want it.
- Too thin or too thick: Less than two inches doesn’t insulate; over four inches can suffocate soil gas exchange.
- Skipping timing: try your best to wait until after the first light frost, not during a warm spell, to keep pests from settling in cozy.
Soil Health Brings Spring Payoffs
Garden prep lives in the quiet months, but the payoff is spring resilience. Mulch preserves structure, protects microbial life, and keeps nutrients from wandering. When thaw comes, beds aren’t slumped and starved—they’re steady. You’ll notice fewer heaves, fewer roots exposed, and fewer “what happened here” patches. Mulch is the work that lets everything else work later.
Types Matched to Common Beds
- Perennials and flower borders: Use shredded leaves or fine wood chips for close contact and even coverage; keep 2–3 inches and off crowns.
- Shrubs and young trees: Choose larger wood chips or bark; ring the dripline, leave a bare collar around trunks, and aim for 3–4 inches.
- Vegetable beds finished for the season: Lay a thin compost sheet, then straw or leaves on top; this feeds and insulates without smothering soil life.
Materials to Avoid and Why
- Dyed or unknown‑source mulch: Can carry contaminants or bind nitrogen; stick to clean, reputable sources.
- Fresh grass clippings in thick mats: these invite slime and snails; if mats are used, dry first and apply lightly, use for aesthetics during an event, but never for long periods of time.
- Plastic sheeting as winter cover: Traps moisture against crowns and blocks airflow; favor breathable fabrics or organic matter.
Timing and Regional Cues for Winter Garden Prep
- After a light frost: Apply once plants have hardened off so you don’t invite late‑season pests beneath a cozy blanket.
- Before a deep freeze: Insulation works best when soil holds residual warmth; cover before the first hard cold snap.
- During a dry window: Mulch on dry soil reduces compaction and helps moisture balance going into winter.
Watering Strategy Before
- One solid soak: Water deeply a day or two before mulching to store moisture in the root zone.
- Test the soil: If it’s already damp, skip extra watering; it preserves what is there already.
- Protect new plantings: Young perennials benefit from that pre‑mulch soak plus careful collar spacing.
Pest and Disease Considerations
- Clean the base: Remove diseased leaves and fruit; don’t mulch over trouble.
- Watch for voles: Keep it thin near trunks and expose a small gap to discourage tunneling.
- Rotate organic sources: Mix leaves, chips, and straw year to year to avoid single‑material issues.
Depth by Material

- Shredded leaves: 2–3 inches settles nicely and breaks down by spring.
- Straw: 3–4 inches insulates well; top off midwinter if it compresses.
- Wood chips: 2–4 inches for perimeters and paths; 2–3 inches inside beds for airflow.
Prep Containers and Raised Beds
- Containers: Add 1–2 inches of fine mulch over potting soil and pull pots close to a windbreak.
- Raised beds: Soil loses heat faster; use a compost layer plus 2–3 inches of straw or leaves, then secure edges against wind.
- Perennial herbs: Cover lightly, leave crowns exposed, and plan a spring trim once growth resumes.
Sustainable Sourcing and Budget Tips
- Use what’s on hand: Shred leaves, chip prunings, and sift compost; the best to use is often the nearest.
- Community sources: Municipal chip piles and clean straw from local suppliers cut costs and transport.
- Store smart: Keep a covered stack for top‑offs; dry materials spread cleaner and insulate better.
Goodnight, Garden
This is a practical goodbye: lay mulch, make peace with the mess, enjoy the smell of the fresh cedar and trust the slow work you won’t see. Winter garden prep is the low hum of stewardship. Do it with care, then let the soil rest.