Easy DIY Pumpkin Garland Tutorial 2025: The Coziest Fall Decor to Make at Home
Autumn decor often comes with a hefty price tag, especially when seeking the lush, layered look of designer garlands. But with a few clever tricks and a handful of craft store finds, it’s possible to create a chunky, boutique-style DIY pumpkin garland at home—without spending hundreds. This fall DIY project centers around the versatile berry garland, transforming it into a festive centerpiece with pumpkins, glittery accents, and floral touches.
Why a Berry Garland Is the Best Base for a DIY Pumpkin Garland
When crafting a DIY pumpkin garland, the foundation matters. Berry garlands offer a flexible wire structure that makes them ideal for weaving in additional elements. Unlike leaf garlands, which can be flat or flimsy, berry garlands provide both texture and support, allowing heavier decorations to stay in place.
Benefits of using a berry garland base:
- Built-in wire for easy shaping and securing
- Natural volume and texture
- Holds heavier items like mini pumpkins and floral stems
Materials Needed for a Fall DIY Garland
To achieve a rich, layered look, gather the following supplies from a local craft store or repurpose items already on hand:
- 1 berry garland (6–9 feet recommended)
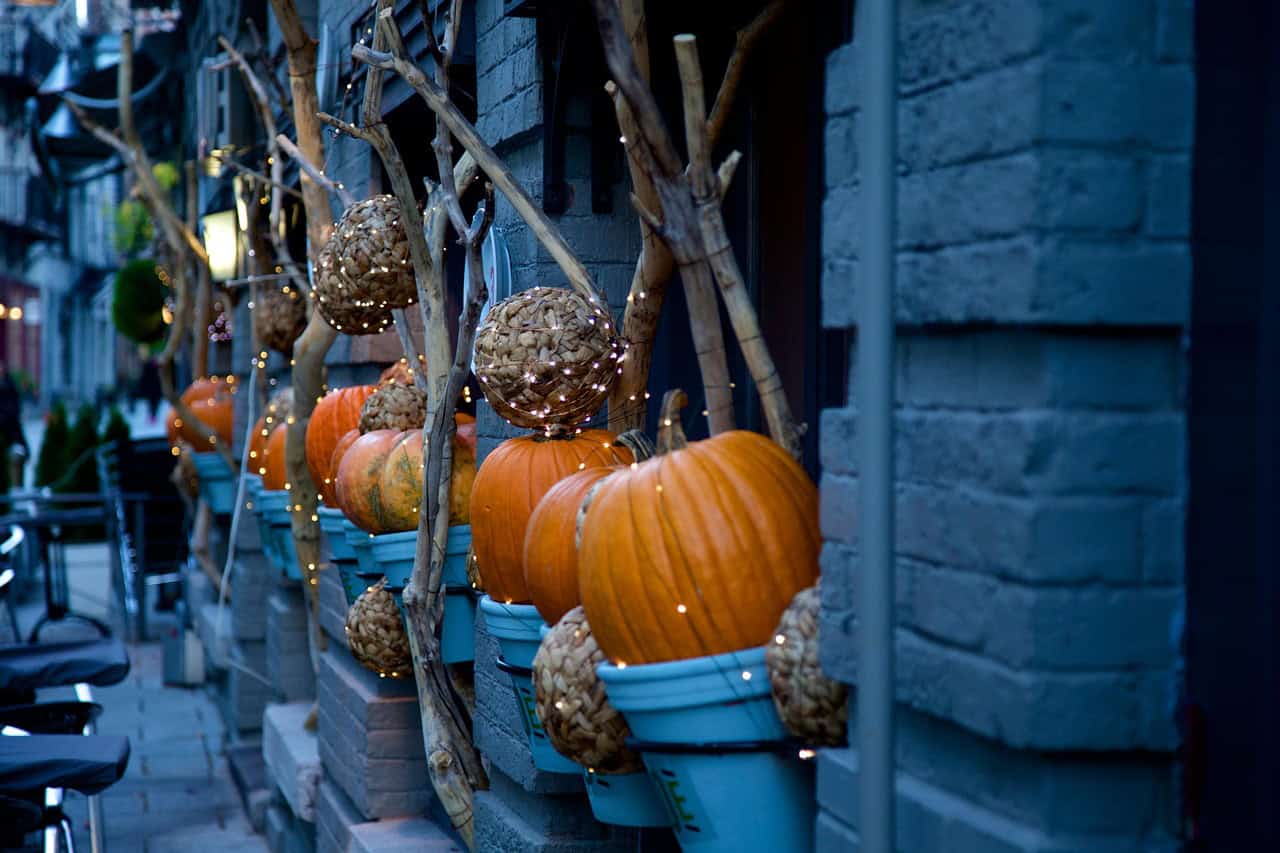
- Assorted chunky faux pumpkins (varied sizes and colors)
- Glittery sticks or branches
- Faux sunflowers or other fall florals
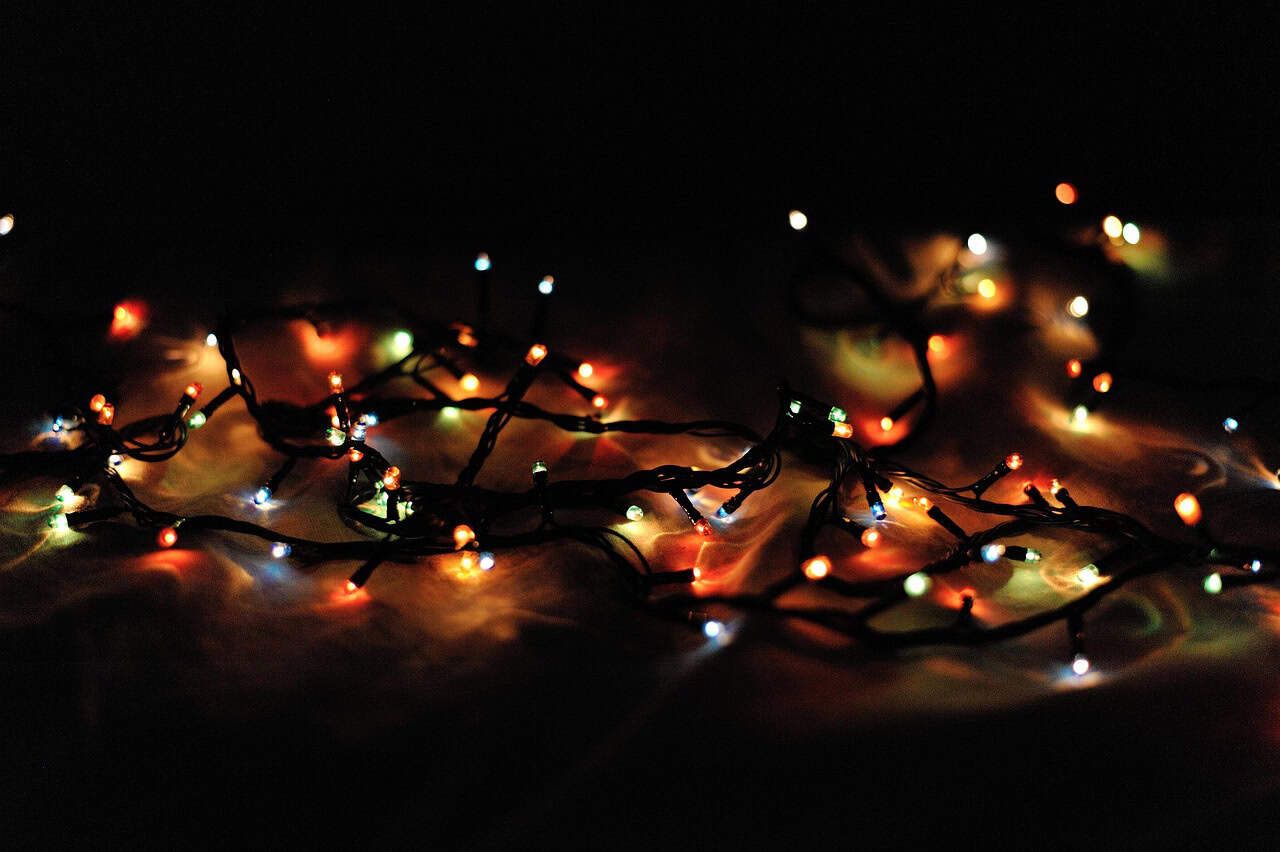
- Optional: battery-operated string lights
- Optional: feathers for added texture
- Floral wire or zip ties (for extra security)
Step-by-Step: Building the DIY Pumpkin Garland
1. Prep the base: Lay out the berry garland and gently stretch or bend it into the desired shape. If hanging over a mantle or doorway, measure the space first.
2. Add pumpkins: Insert the stems of faux pumpkins directly into the wire structure. For heavier pieces, secure with floral wire or zip ties. Vary placement to create visual rhythm.
3. Weave in florals and glitter sticks: Tuck sunflower stems and glittery branches into the garland, using the berry wire to hold them in place. Alternate between florals and sparkle to balance the look.
4. Optional enhancements: Wrap battery-operated lights around the garland for a warm glow. Feathers can be added for softness and movement.
5. Final shaping: Step back and adjust spacing, fluff florals, and ensure all elements are secure. The wire base allows for easy repositioning.
Final Touches for a Boutique Feel
To elevate the DIY pumpkin garland from homemade to high-end, consider these finishing details:
- Use a cohesive color palette (e.g., ivory pumpkins with gold glitter and burnt orange florals)
- Add depth by layering elements at different heights and angles
- Incorporate natural textures like burlap ribbon or dried wheat
This fall DIY project is not only budget-friendly but also customizable. Whether hung across a fireplace, draped over a doorway, or used as a table runner, the garland brings warmth and seasonal charm to any space.
Final Thought
Creating a DIY pumpkin garland is a satisfying way to welcome fall with creativity and style. With just a few materials and a bit of imagination, it’s possible to replicate the lush look of boutique decor at a fraction of the cost. The berry garland base makes it easy to build, adapt, and personalize—making this fall DIY both accessible and beautiful.