How to Make Your Own Dried Fruit at Home Without a Dehydrator: Easy Tips and Tricks
Because Who Needs Another Appliance When You’ve Got an Oven That Works
If you’ve ever wondered how dried fruit at home without a dehydrator could happen, this guide will walk you through every method—no gadgets required.
Let’s be honest: dehydrators are great, but they’re also one more thing to plug in, clean, and explain to your sister when she visits and asks why you own a “fruit shrinker.” You don’t need another appliance. You need solutions. Preferably ones that don’t cost $129.99 and come with a 47-page manual.
So here it is: the ultimate guide to drying fruit at home using what you already have—your oven, your freezer, your windowsill, and a healthy dose of stubbornness.
Why Dry Fruit Anyway?
- Preservation: Dried fruit lasts longer than fresh, which means fewer sad, squishy apples in the compost bin.
- Convenience: Great for snacking, baking, or bribing children to do chores.
- Flavor: Drying concentrates the natural sugars, turning your average peach into a snack that tastes like summer and rebellion.
Tools You’ll Need (No Dehydrator, Promise)
- A baking sheet
- Parchment paper or silicone mat
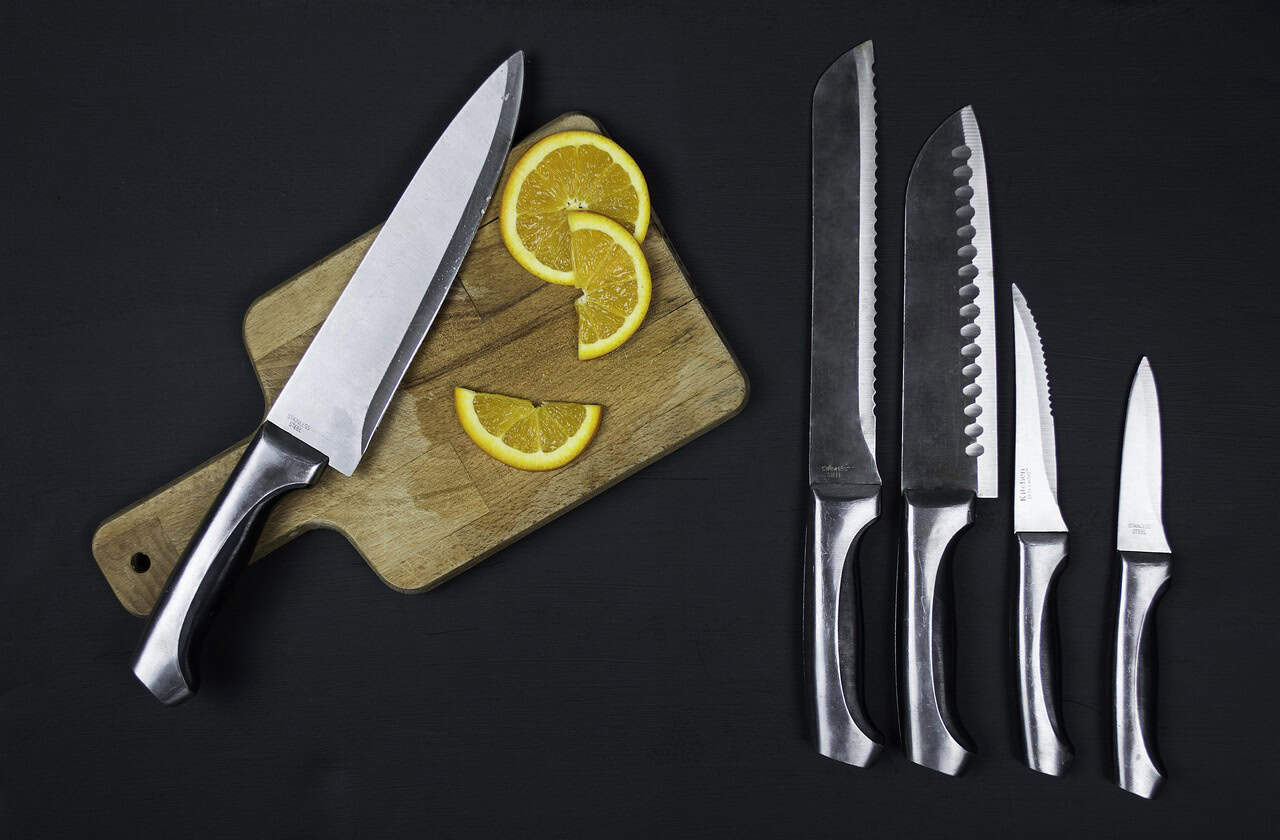
- A sharp knife or mandoline
- Oven (or sun, or freezer—more on that later)
- Cooling rack (optional but helpful)
- Patience (not optional)
Method 1: The Best Way to Dry Fruit at Home,
The Oven
Best For: Apples, pears, peaches, strawberries, bananas
Step-by-Step:
- Wash and Slice fruit evenly—about ¼ inch thick. If you go thicker, you’ll be drying until next harvest.
- Pre-Treat (Optional but Smart) Dip apples, pears, and peaches in lemon water (1 tbsp lemon juice per cup of water) to prevent browning and preserve flavor.
- Arrange on Tray Line your baking sheet with parchment or a silicone mat. Lay fruit slices in a single layer. No overlapping unless you enjoy soggy surprises.
- Set Oven to Low 135°F to 170°F is ideal. If your oven doesn’t go that low, crack the door open with a wooden spoon. Yes, it looks ridiculous. Yes, it works.
- Bake for 4–8 Hours Flip halfway through. Check every hour after the 4-hour mark. You want leathery, not crispy. Unless you’re making dried fruit jerky, in which case—carry on, cowboy.
- Cool and Store Let fruit cool completely before storing in airtight containers. Mason jars work great and make you look like you know what you’re doing.
Method 2: Sun Drying (For the Patient and the Brave)
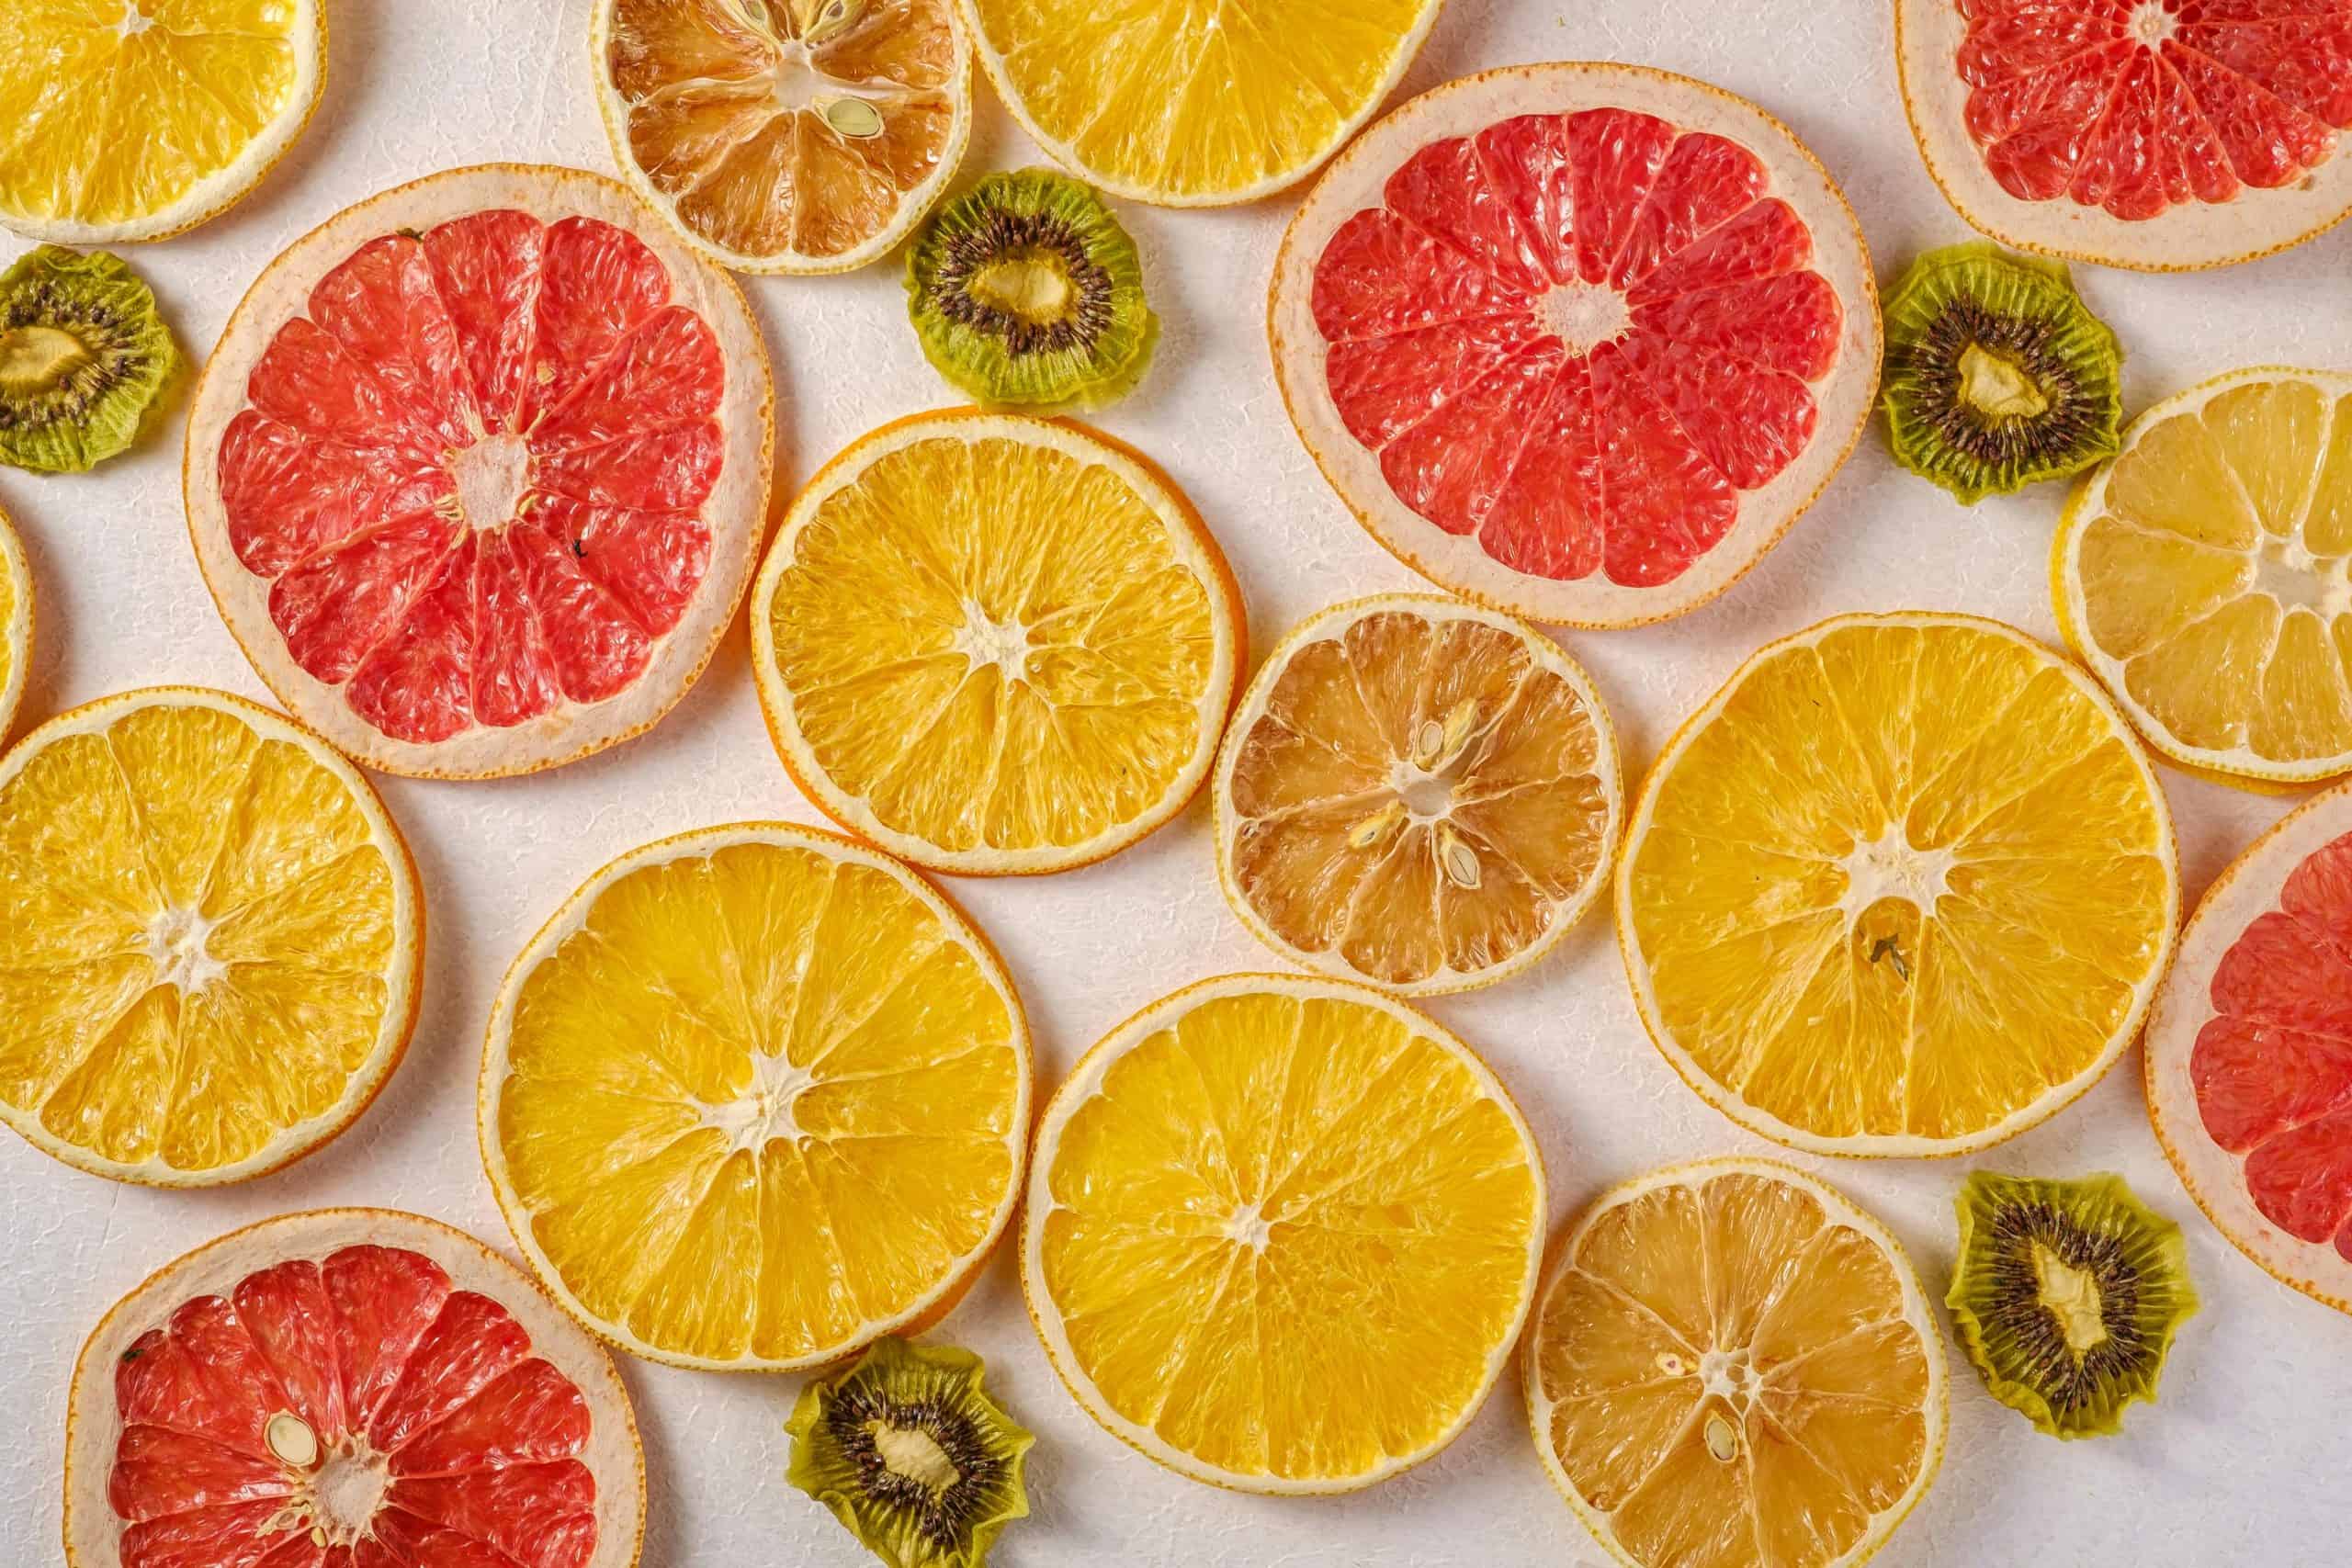
Best For: Grapes (hello, raisins), figs, apricots, tomatoes
Requirements:
- Hot, dry weather (85°F+)
- Low humidity
- Insect netting or cheesecloth
- 3–5 days of sunshine and optimism
How-To:
- Slice fruit and place on a screen or rack.
- Cover with netting to keep bugs and nosy neighbors away.
- Place in direct sunlight, turning daily.
- Bring inside at night to avoid dew.
When leathery and dry, store in airtight containers.
Warning: If you live in Oklahoma and it’s August, this method is viable. If it’s April and raining sideways, skip it unless you enjoy disappointment.
Method 3: Freezer Drying (AKA “The Lazy Hack”)
Best For: Bananas, berries, pineapple
This isn’t true freeze-drying (which requires a machine that costs more than your truck), but it’s a decent shortcut.
Steps:
- Slice fruit and lay on a tray lined with parchment.
- Freeze for 2–3 hours.
- Transfer to a paper towel-lined tray and let sit at room temp for 24–48 hours.
- The cold shock helps break down cell walls, speeding up air drying.
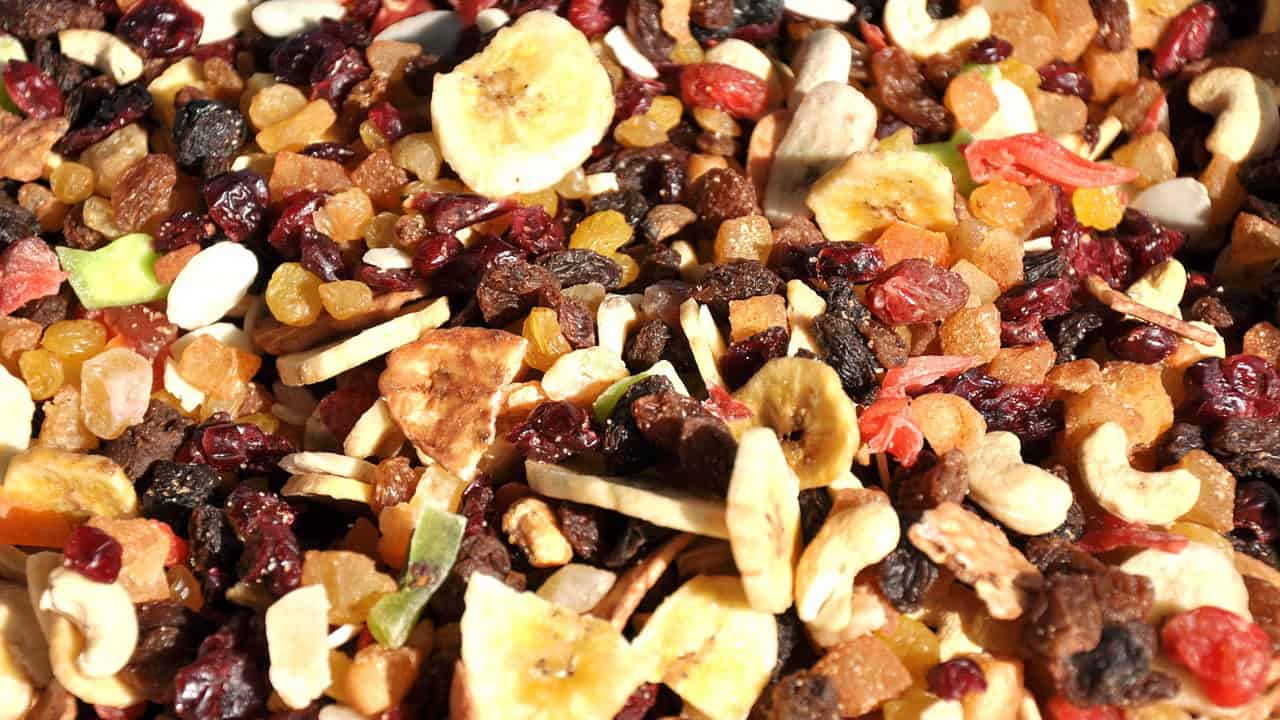
Result: Chewy, semi-dried fruit that’s great in oatmeal or trail mix. Not shelf-stable for months, but good for a week or two.
Bonus Tips for Success
- Uniform Slices = Even dried fruit. Uneven slices = one burnt banana chip and one still raw.
- Rotate Trays in the oven every couple of hours for consistent results.
- Don’t Rush. If it’s still sticky, it’s not done. Unless you like mold. Then rush away.
- Store Smart: Use vacuum-sealed bags or jars with desiccant packs if you’re storing long-term.
Some Yummy Wisdom

- If the fruit’s too ripe to slice, mash it and make fruit leather. Spread it on parchment, bake at 170°F for 6–8 hours, and cut into strips. Boom—snack and bragging rights.
- Dried fruit is like dating, low and slow wins the race. If you rush it, you’ll end up with something bitter and hard to chew.
- Don’t be afraid to experiment. If it grows on your land and doesn’t bite back, try drying it.
Final Thoughts
Drying fruit at home without a dehydrator is part science, part art, and part stubborn refusal to buy another appliance. It’s a great way to preserve your harvest, reduce waste, and feel like a pioneer—minus the cholera and wagon wheels.
So, grab that tray, slice up some apples, and let your oven do the work. Your pantry (and your taste buds) will thank you.